
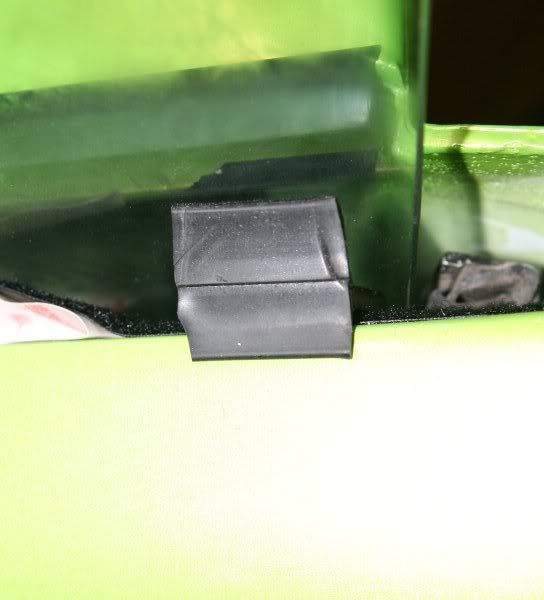
Official Lotus seal - these must be made of gold.
They also don't seem to last very long as the metal corrodes causing the rubber to bubble, and also the clips seem to come off often meaning the seal isn't attached properly (or in the case of my car) has been glued back on using what looks like no more nails!
Turns out the outer seal is very similar to the first seal on Woolies pikey window seals page
Which obviously is significantly cheaper. It's sold in 2 metre lengths, you need 1m per door.
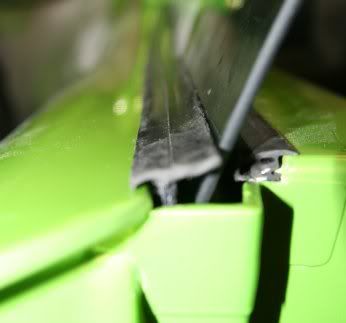
The good thing about this seal is it doesn't seem to have any metal to corrode. It's like a hard plastic with rubber seal/felt for going against the window.
The seal doesn't extend quite as much as the original seal (ie doesn't push against the window so much). A guy on SELOC used velcro to attach the seal, and this also spaces the seal out a bit, bringing it closer to the glass. I thought this sounded like a good plan, so did the same.
I measured the flat portion of the seal where the velcro would go, and decided that 16mm was the way forward.
I used this 16mm x 5 metres velcro @ £7.25 fro fleBay
I bought 5m but you need less than 2 (obviously..) but I indend to use it for my number plates and possibly other bits too.
The adhesive feels really decent, plus if it ever comes off, I can just stick it again.
First thing to do is cut the seal to length. Cut the mirror side of the door first as you need to angle it a bit. I used some tin snips to cut the hard vertical portion and some regular scissors for the rubber.
Once you've got the angle right, cut to length at the back of the door. You can have plenty of goes at the angle as the 1m seal leaves 20-30cm of seal unused.
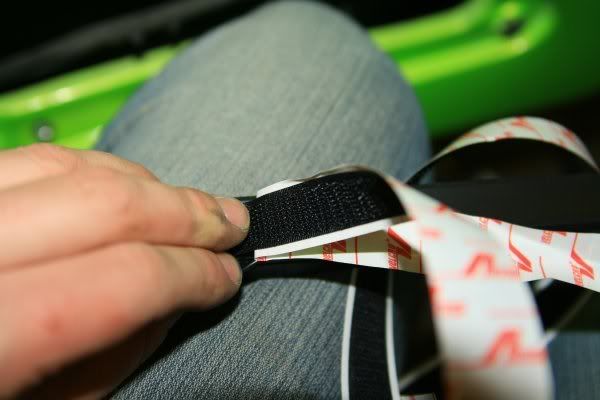
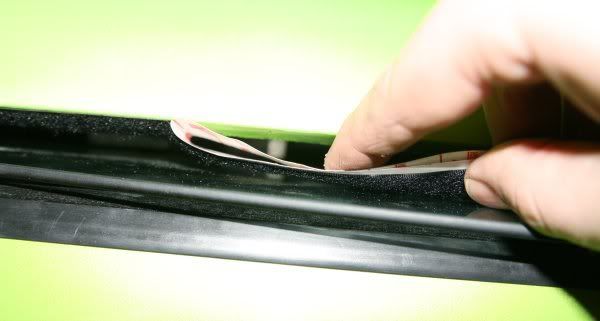
I decided the best idea would be to fit the rougher side of the velcro to the seal itself so it would never be against the glass (not that it's that abrasive...)
I used 1 hand to push the sticky velcro onto the seal, whilst pulling maybe 20-30mm of backing off at a time with the other hand. This made it really easy to get the velcro on straight and without bubbles etc.
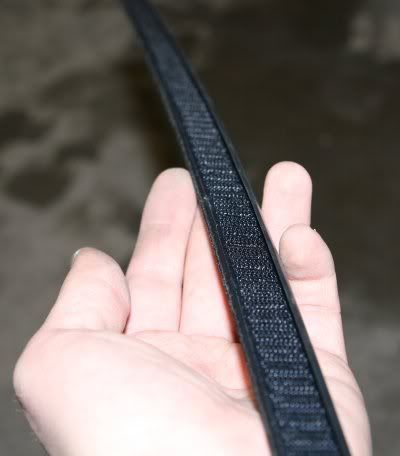
The finished seal...
Make sure the door gutter is clean / use some degresant to prep it. The velcro will be fitted to an alloy plate that is bonded to the door shell. This plate usually hosts the metal clips that hold on the original seal. I managed a door with the window in with no problem at all.
I started at the back end of the door 1st time round, but the mirror end of the door was a pita. I'd recommend starting at the mirror and working back!
Again, a 2 handed job. With my right hand, I peeled the backing off (index finger), again 20-30mm at a time, whilst also pulling the velcro tight (between my thumb and middle finger) to keep it straight.
At the same time, I used my thumb to push the velcro onto the door and ensure there was no air bubbles.

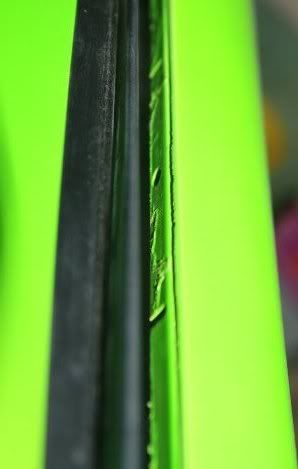
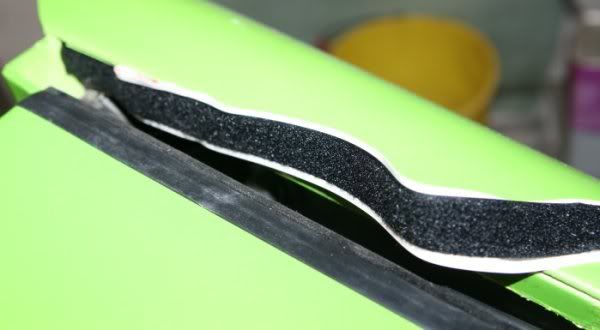
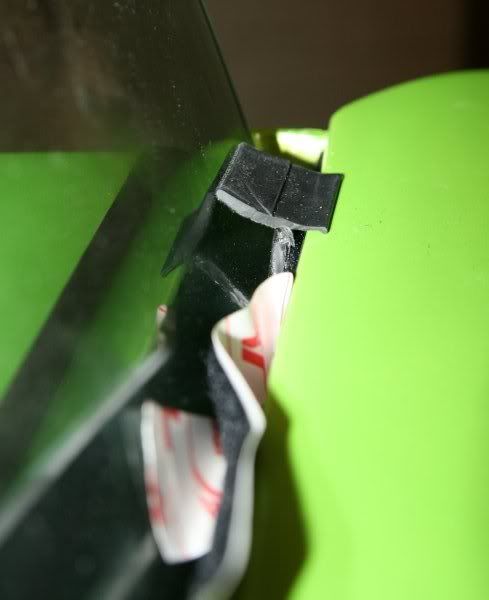
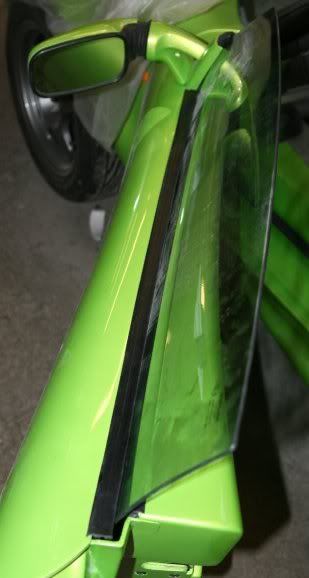
I fitted a small offcut ofseal to see what it would look like. This is velcro'd on.
This image shows it best as you can see the velcro and the fit in the window reflection
Finished seal with window down
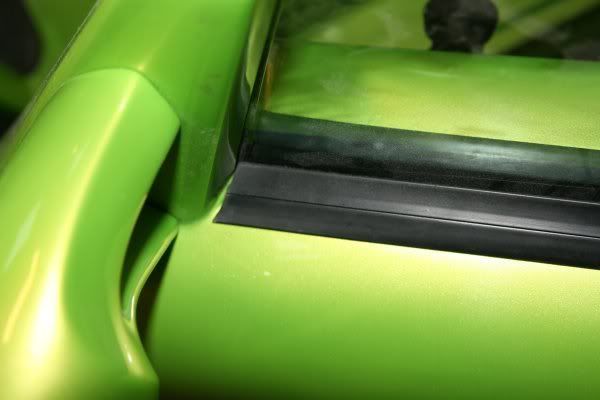
Window up
and finally the angle at the mirror
Approx total Cost:
seals: 5.50 per metre x 2 + p&p
£14
Velcro 5m
£7
---
£21 for both sides
---
Not bad since Lotus want 120 for the seals alone!
Hope this helps someone!
Chris