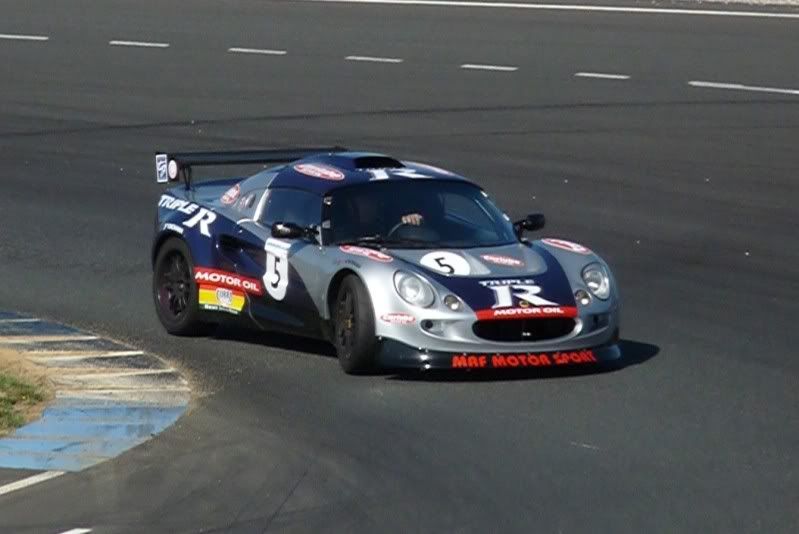
I wanted to build the car to run in the “Up to 1600cc” class of the Northern Sports & Saloon Car Championship. This meant building a fairly high power 1600 K series.
I then decided to go one step further with the race prep and convert the car to a central seating position. For no other reason than I’ve always quite fancied one. Oh and I’m fat and needed an extra, extra large seat!!!
So, thought I’d do a bit of a build blog in case anyone is interested. They seem all the rage these days. As far as I know, nobody has done a central seat conversion and kept the car road legal.
Sorry for the quality of the photos. Most were taken with my phone as I went along.
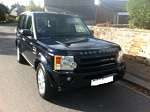
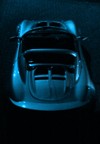
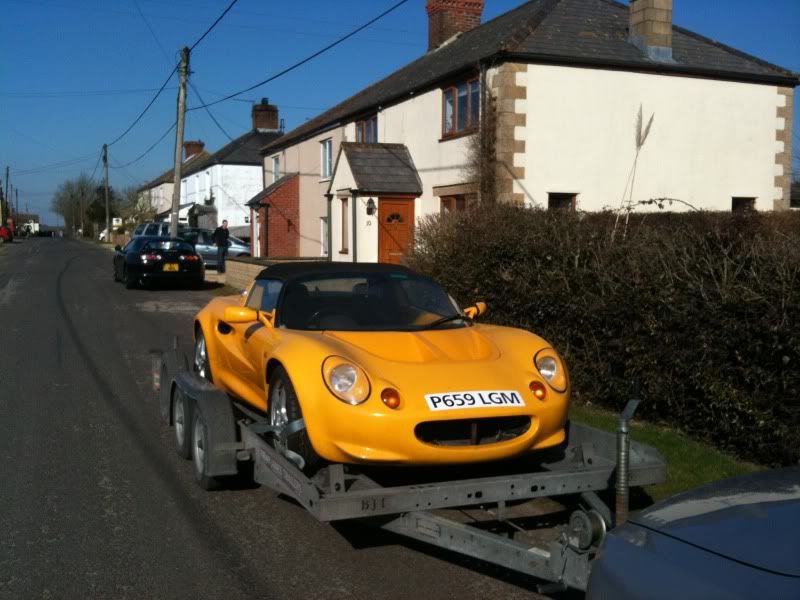
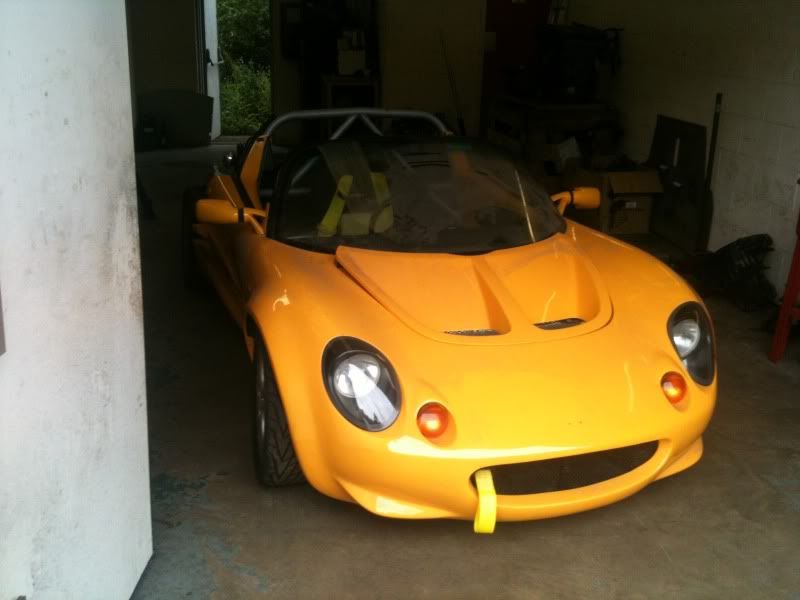
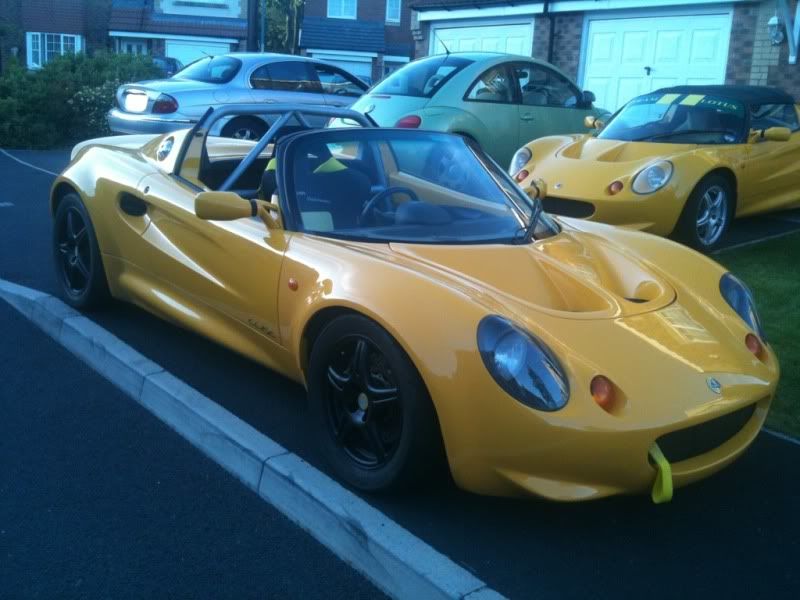
So, this is what the wee beastie looked like when I picked it up.
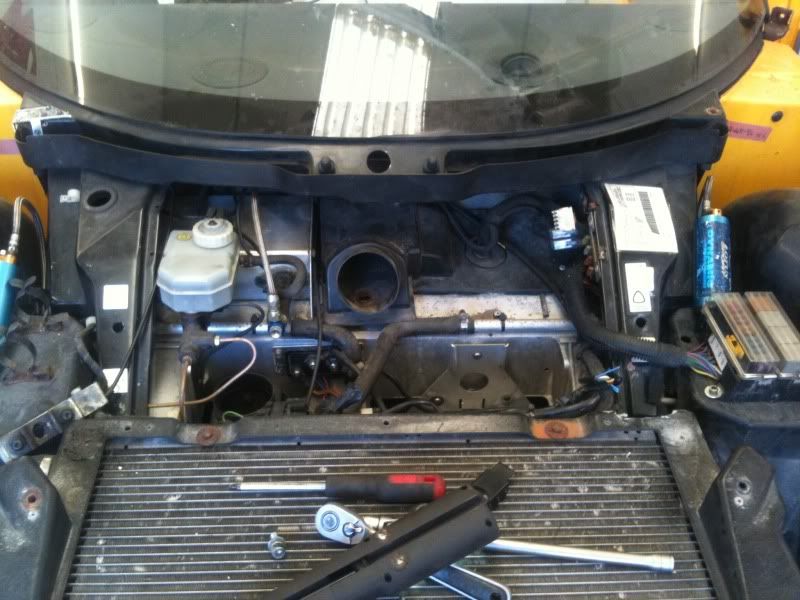
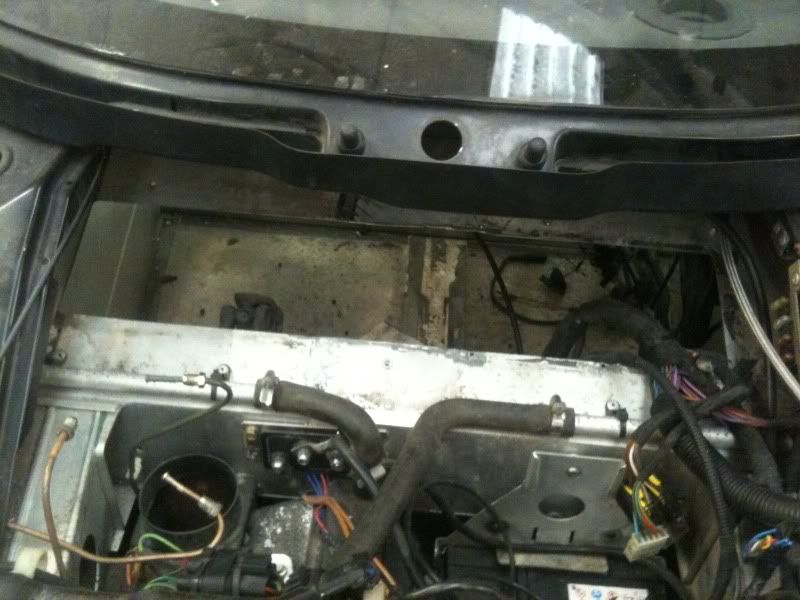
Got the car home and shortly after it looked like this.

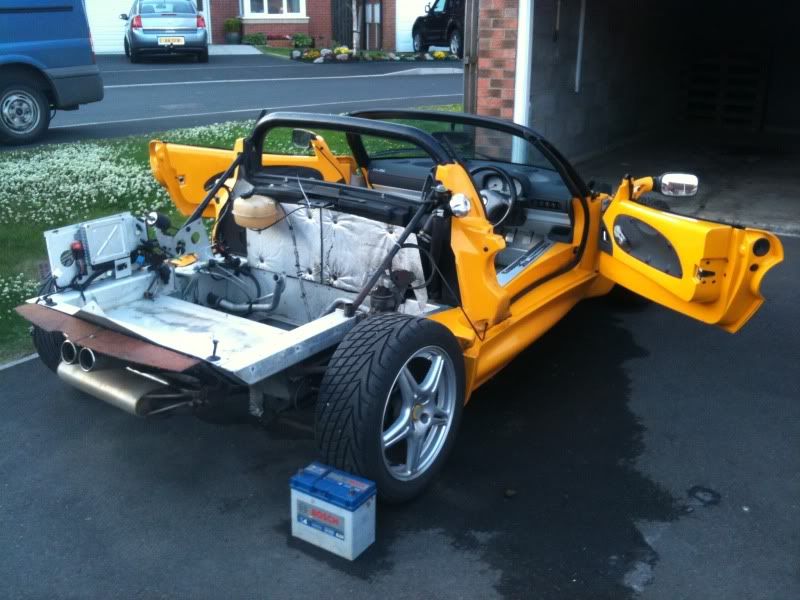
Notice the floor corrosion, we’ll get to that later.
The front clam was in a bit of a state so sent it off to the bodyshop for a freshen up. The rest of the paintwork was fine.
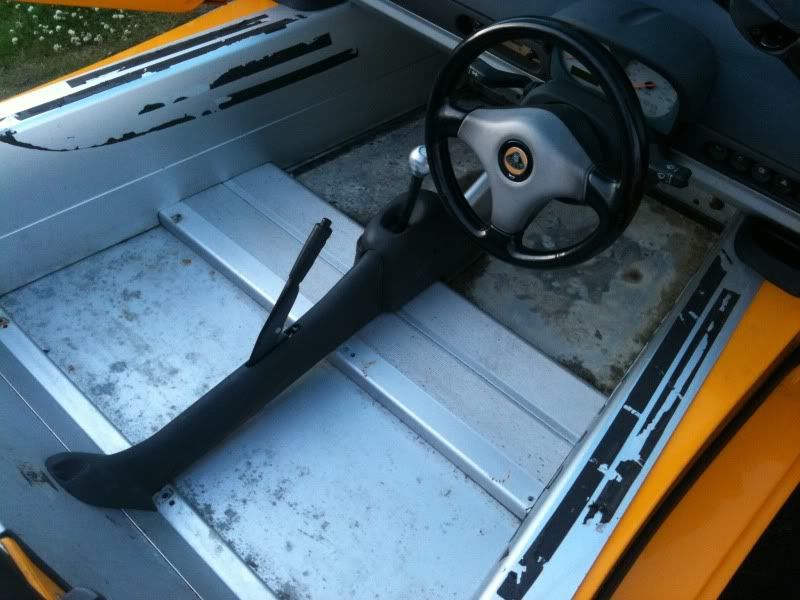
So, onto the central seat conversion.
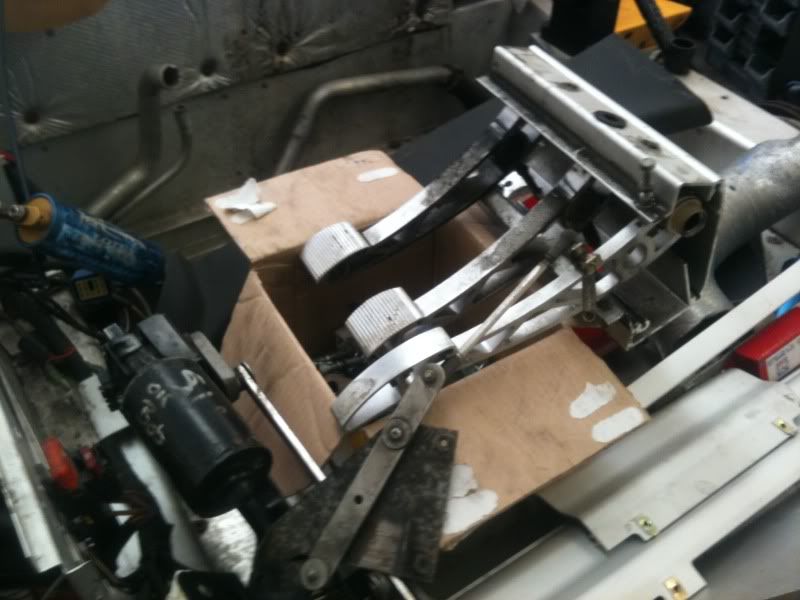
First thing to do was to get to work removing the pedal box.
Wiper linkage and heater ducting removed.
Pedal box and heater air distribution assembly removed.
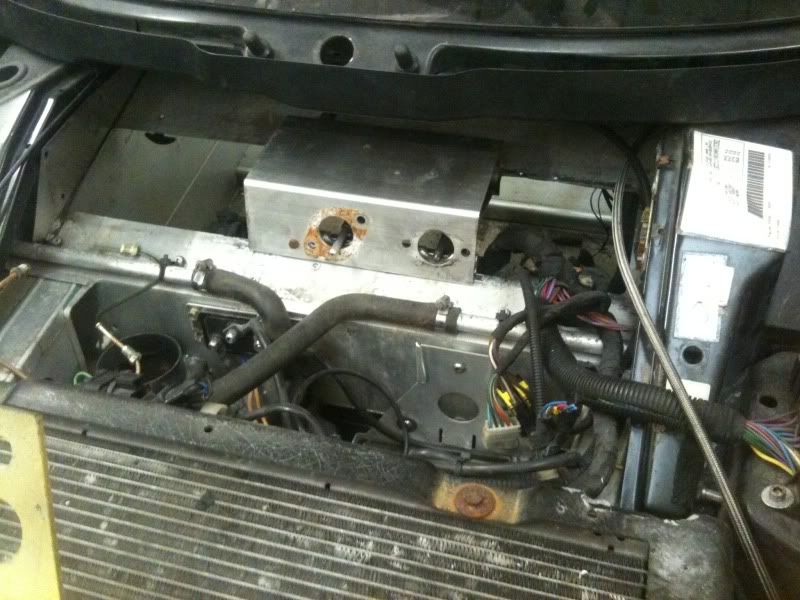
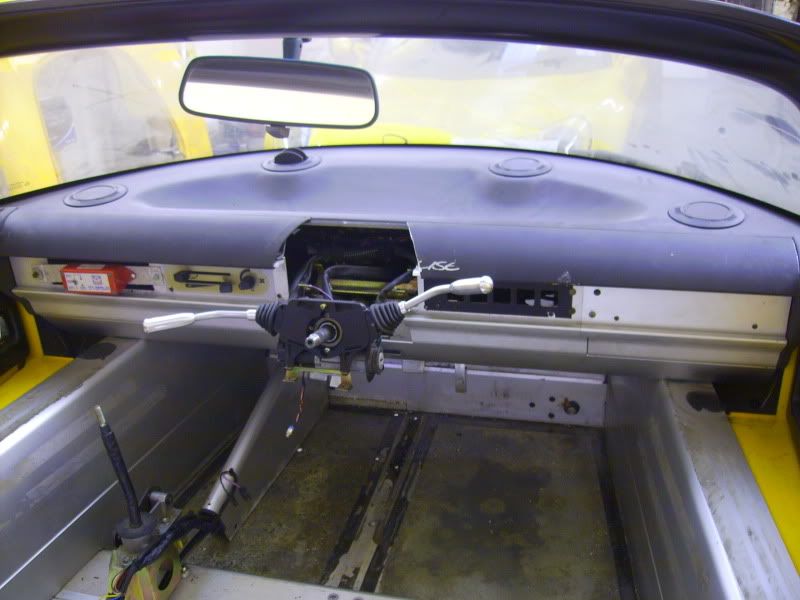
Next thing to do was to strip the dash out and look at the steering column.
Once the column was removed I had a big pile of bits that looked like this.
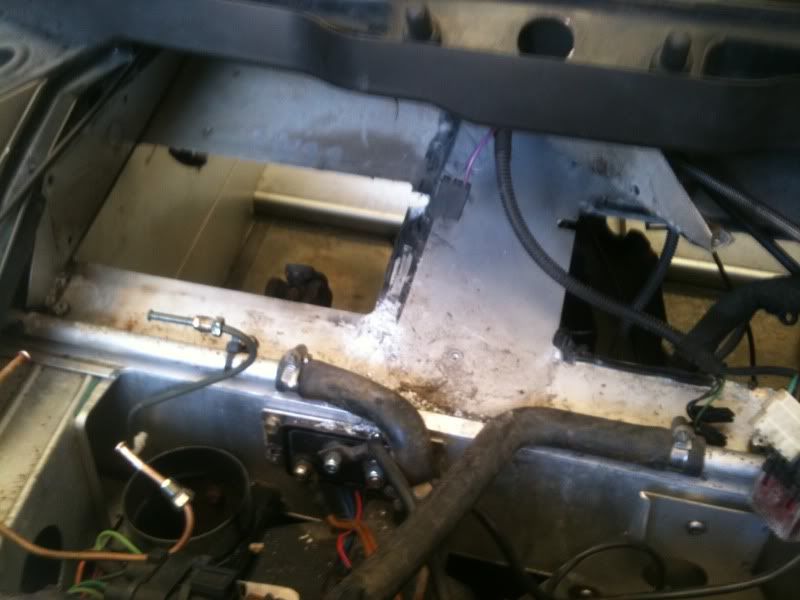
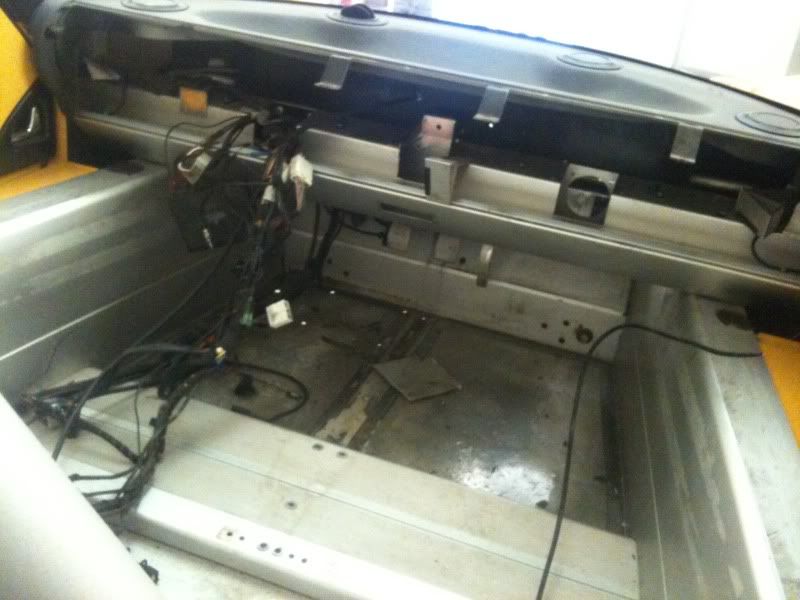
I then cut out the section of front bulkhead where the pedal box needed to sit.
Once that was done I could hang the pedal box in and figured out exactly where it needed to be mounted.
It was a pleasant sight to see the pedals in the middle when looking inside the car.
Rather than remove the right hand pedal box mounting upright (as it would be a right pain in the arse) I made a new one to go with the left hand one I removed when I took the pedal box out.
Before fitting it, I thought it would be a good idea to strip and rebuild the pedal box, especially as this one had done 93k miles.
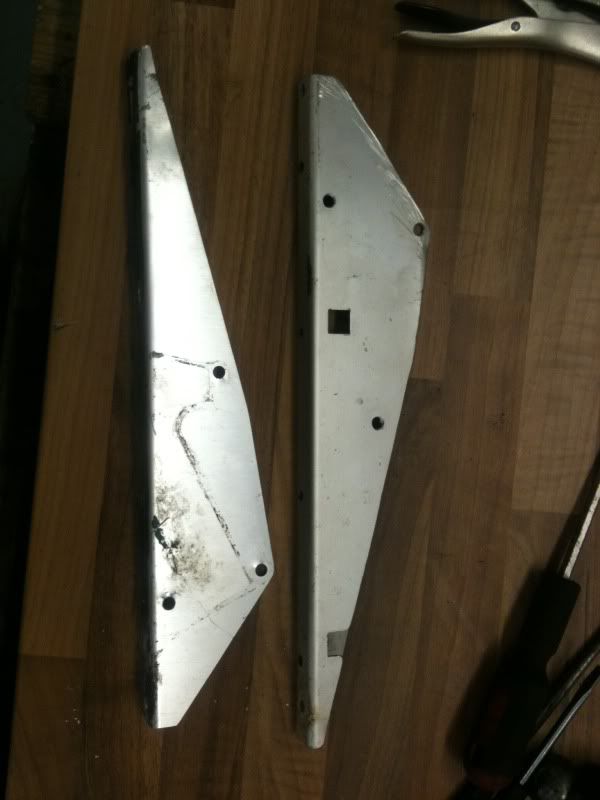
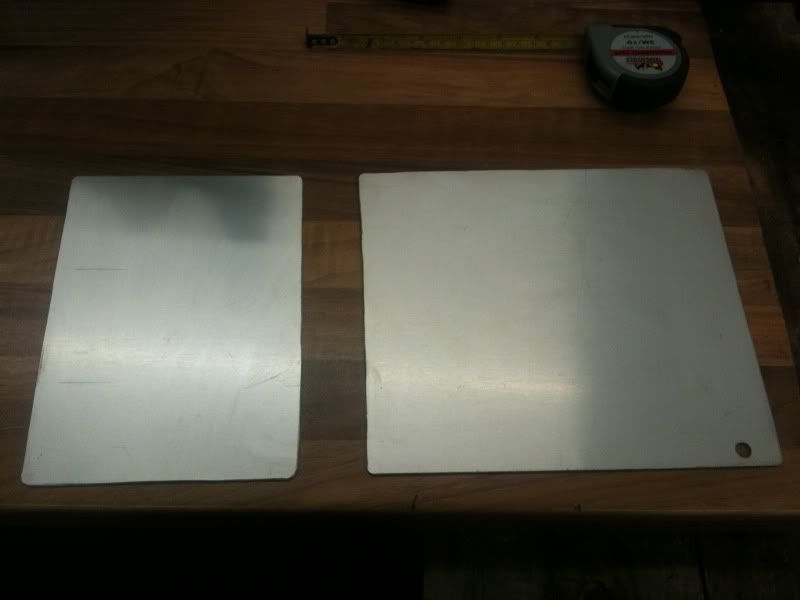
And I made up some plates to seal the bulkhead either side of the pedal box.
Then the pedal box was fitted.
Next thing to do was to cut out holes in the dash beam where the steering column would mount. Here it is marked up.
Cut a square hole in the front face and top face of the beam and a 70mm round hole in the rear face for the column to go through. Then some rivnuts and the column mounts are bolted in.

At this point I turned my attention to the engine.
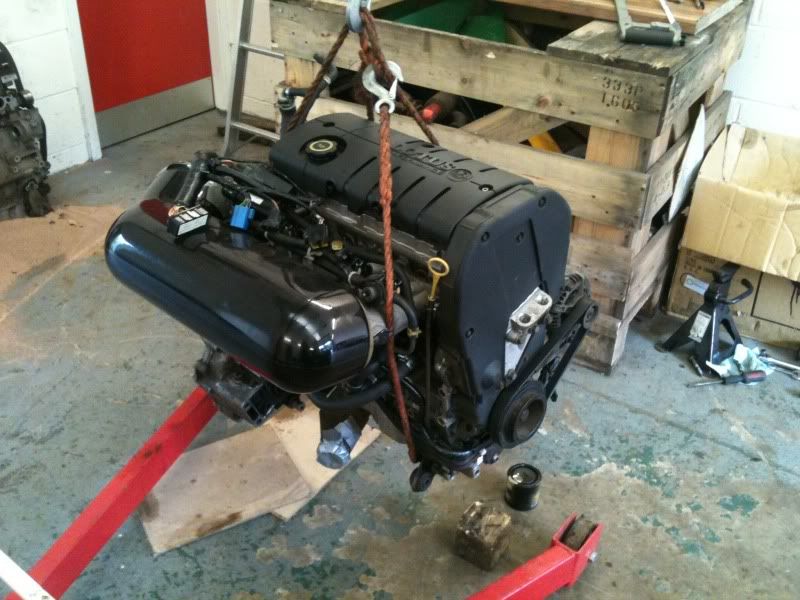
I bought a 21k mile bog standard 1600 K series out of a Rover 25 that had suffered an HGF for the princely sum of £50.
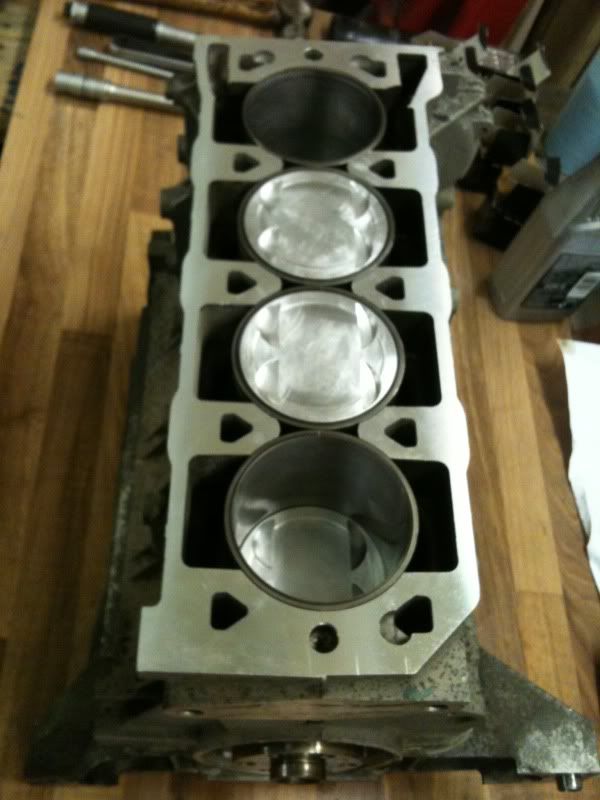
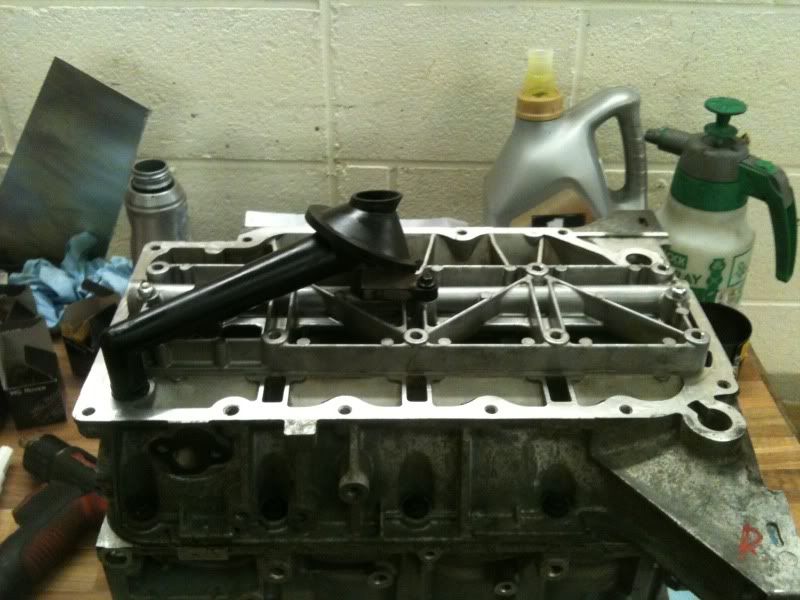
Stripped in down and cleaned everything. Had the block decked to get a nice even 0.004” liner protrusion and started with this.
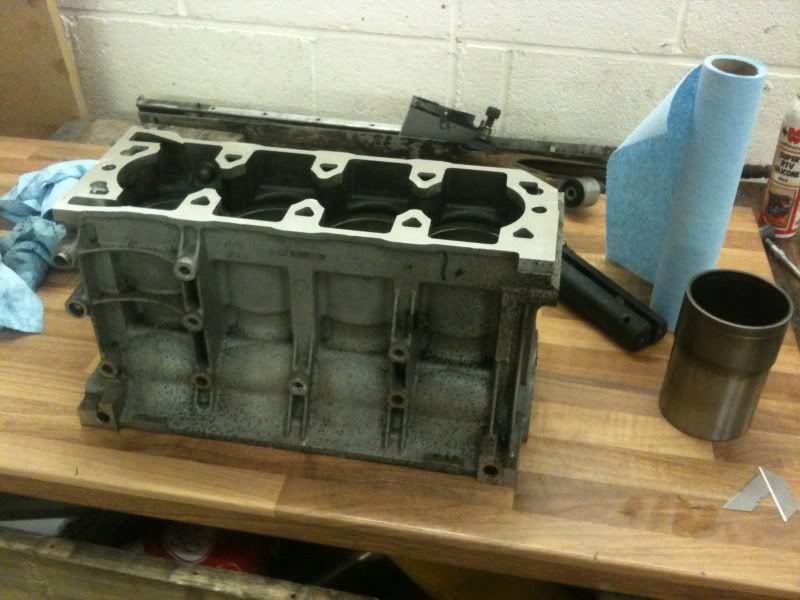
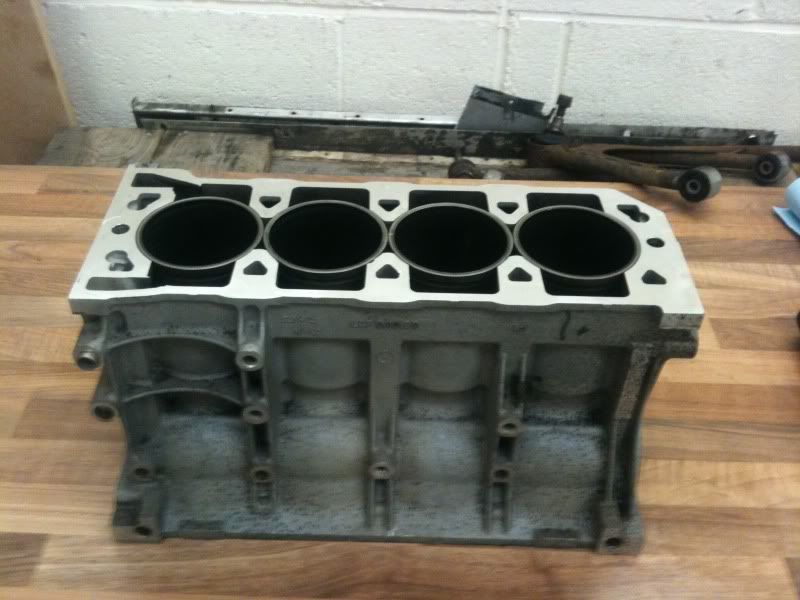
Fitted the liners.
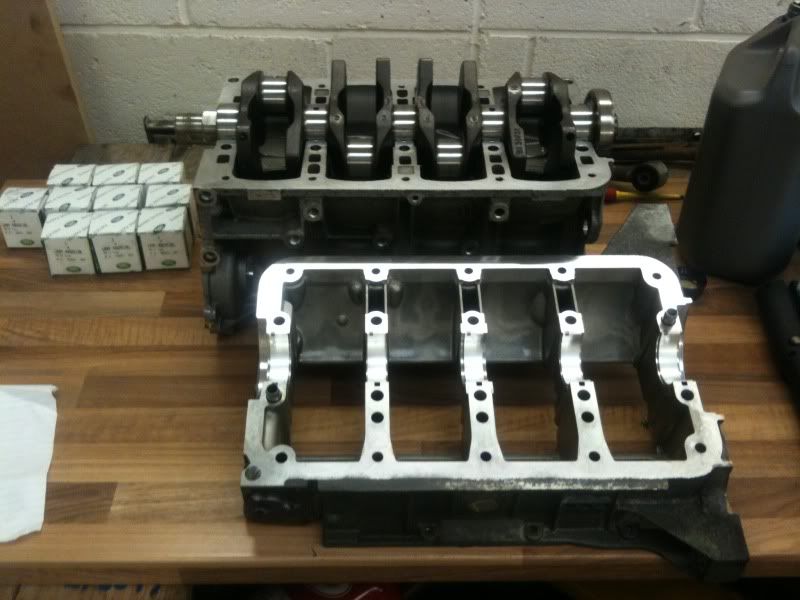
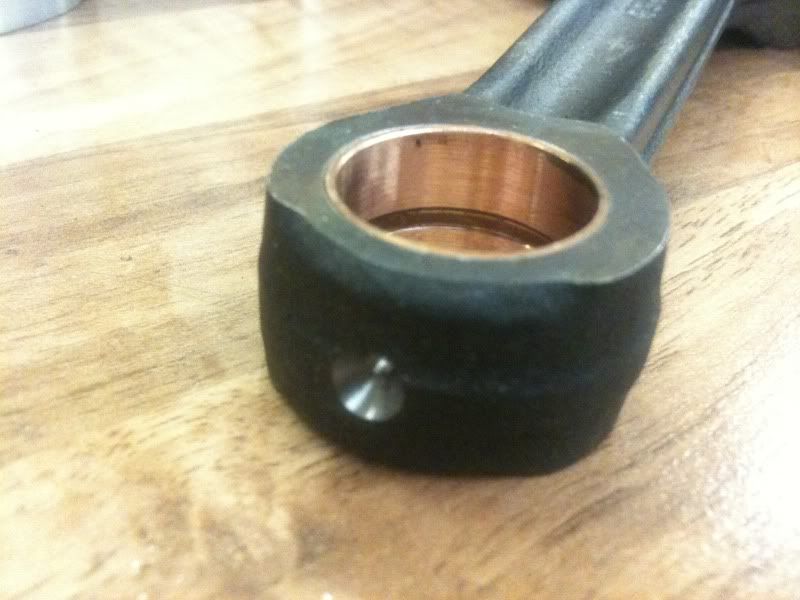
Sorted the main bearings (Thanks to Dave Andrews) and dropped the crank in.
I had the standard 1600 rods machined and bushed to take fully floating gudgeon pins. (Thanks once again to Dave Andrews)
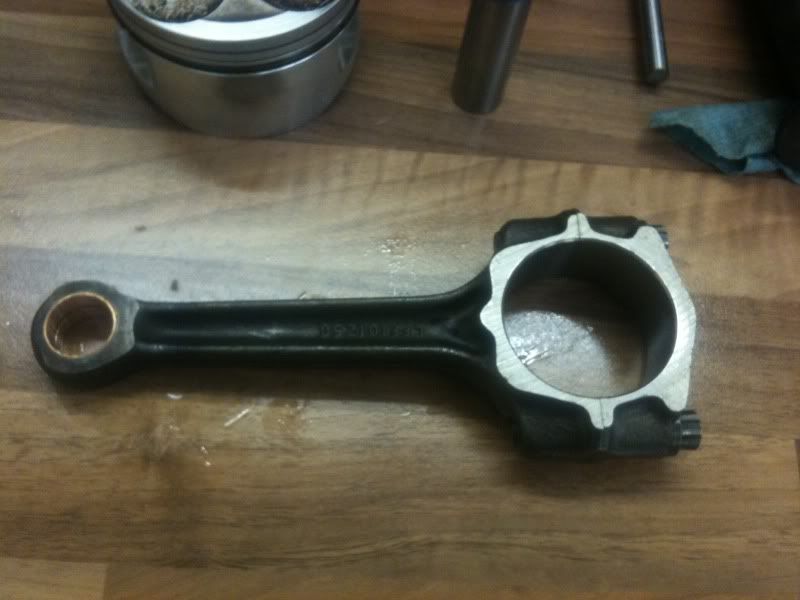
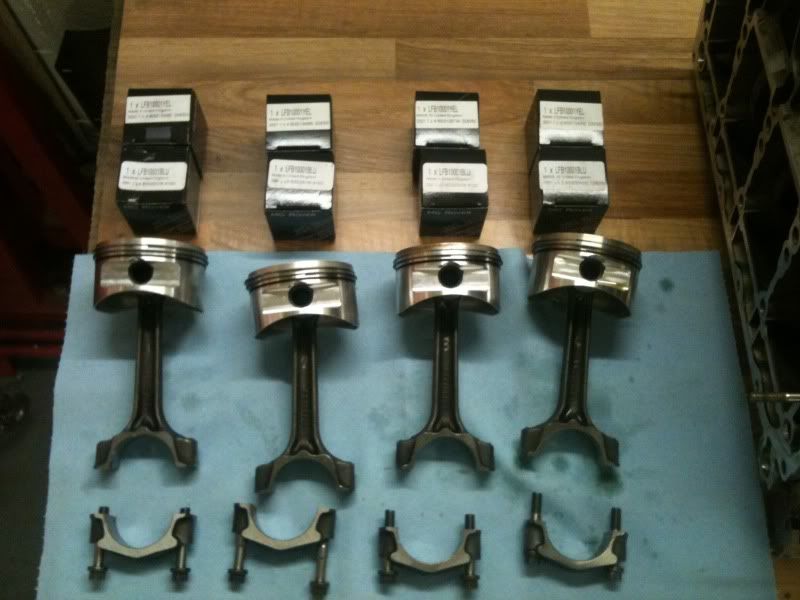
I also had the (VHPD) Omega pistons machined with circlip grooves to retain the gudgeon pins.
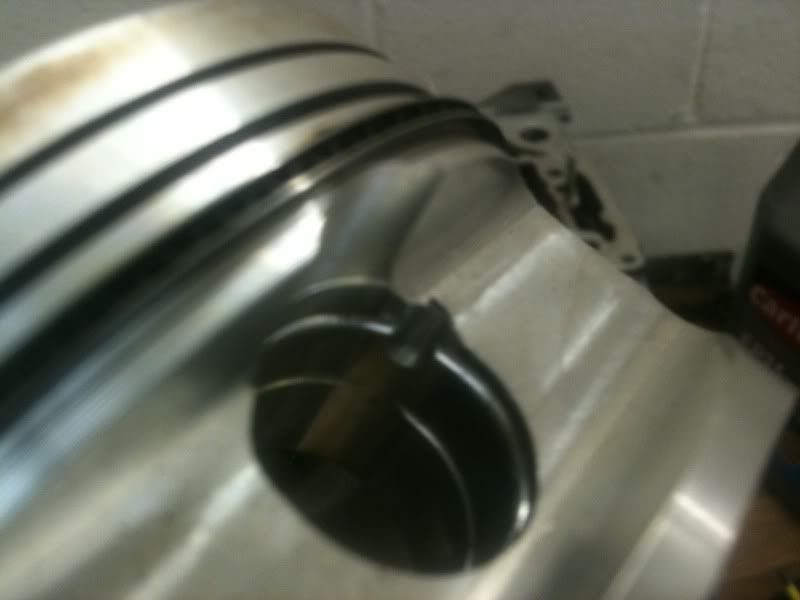
And on the advice of Dave Andrews (He gave me a huge amount of help and advice on this as the 1600 build was new to me) I had 0.025” removed from the tops of the pistons to avoid them hitting the head at TDC. This is due to the pistons coming further up the bores on the 1600 compared to the 1800.
The pistons and rods were assembled and I sorted the big end bearings (once again, thanks to Dave Andrews).
The only issue is that the 1600 big end shells are available is the TF160 (AS16) bearing material so I had to stick with standard (AS15) material bearings. Just something I’ll have to check more often unfortunately.
Popped the pistons and rods in and it looked like this.
Popped the oil rail and pickup on.
Stuck the sump on and then I could get the head bolted on. The head is a PTP Vulcan head complete with stainless (radiused) valves, Piper 285H cams, VVC hydraulic followers and Piper single valve springs. Only a small amount of tidying up was done on the head casting, particularly around the valve seats and throats.
Anyway, bolted it down with a Payen MLS gasket and a new set of Payen head bolts.
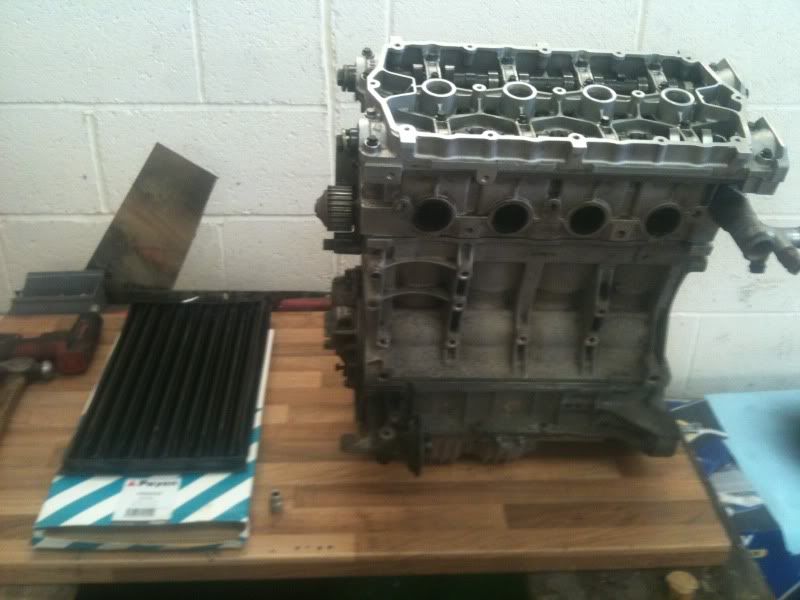
A few twirls of the spanner and it looked like this.
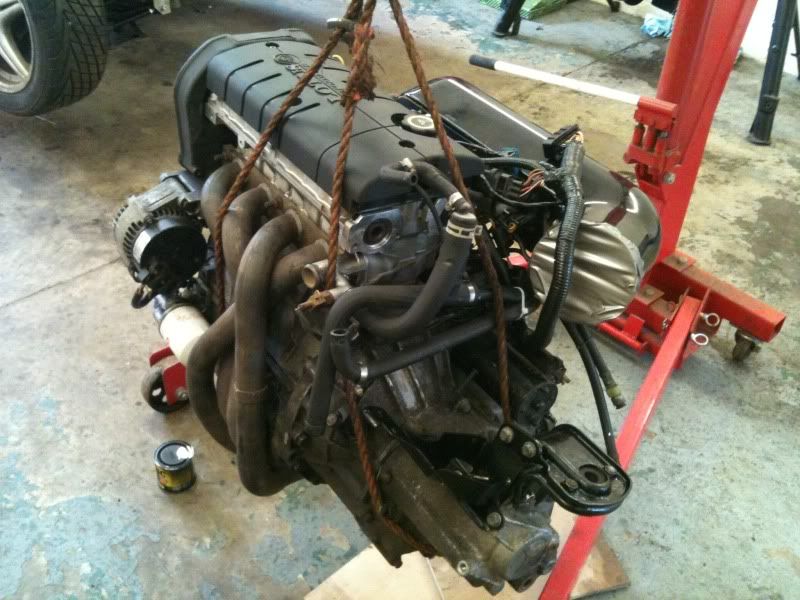
Next thing to do was time the cams in. No pictures of this as its clearly documented all over the net but the once that was done it looked like this.
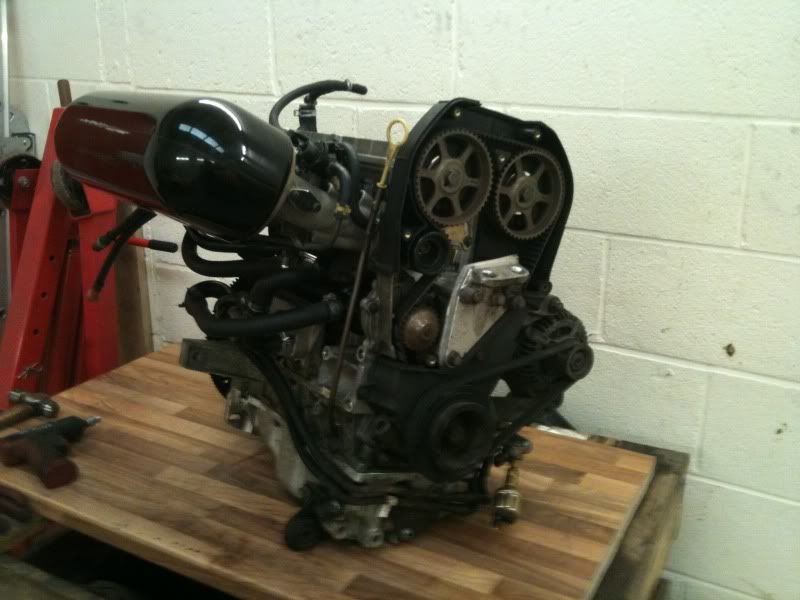
Note the lack of vernier pulleys. When building an engine on the bench it is easy enough to time cams in properly without vernier pulleys. I removed the roll pins from the cams so the cams could turn independently from the pulleys then once the cams were timed correctly drilled and pinned the cams and pulleys away from the original slot and hole. Pikeytastic!
At this point I was still waiting for my gearbox to turn up so got back to working on the car.
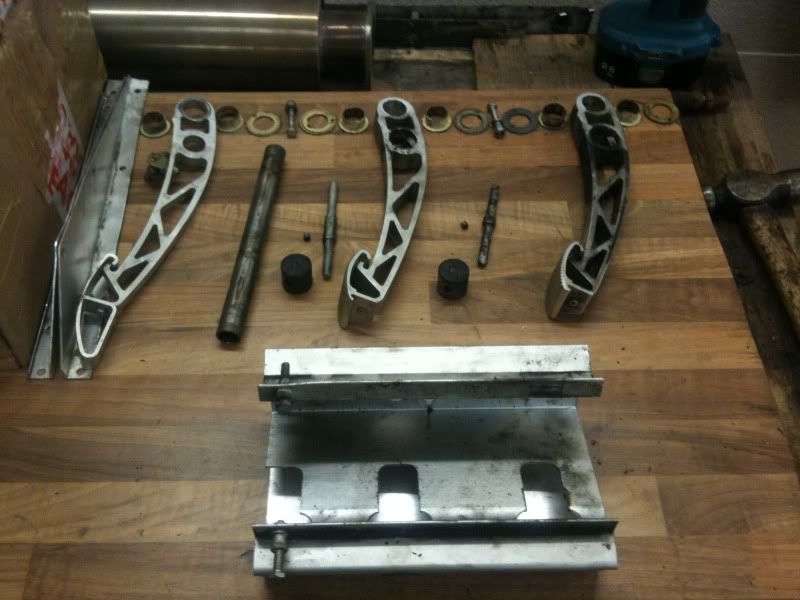
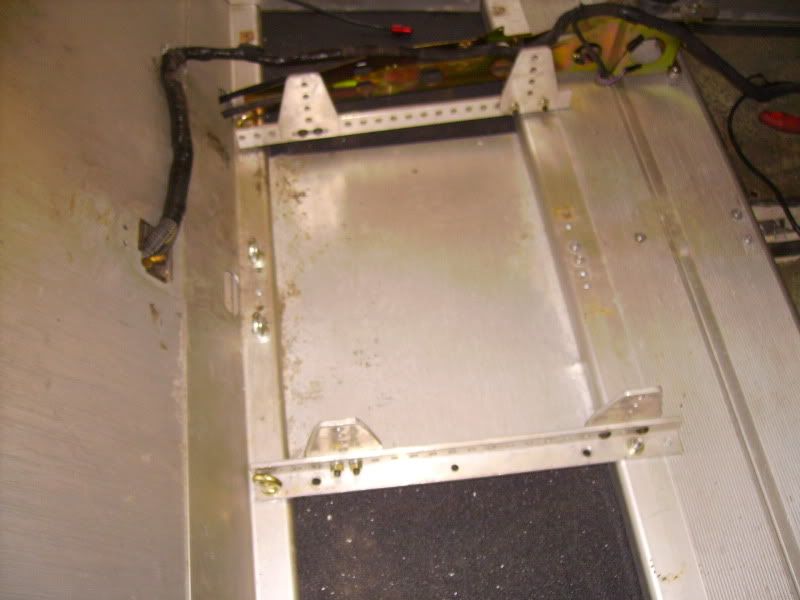
Next thing was to measure up for where to mount the gear lever/handbrake tunnel and seat mounts.
Couple of minutes with the drill and some 8mm rivnuts and the tunnel was bolted down and I moved onto the seat mounts. On the rear I used the lap strap eye bolts to mount the seat rails (pretty sure this is ok) and at the front I followed a suggestion from Elgan from HotLap. I drilled through the box section from the top and fitted some 8mm rivnuts. I then opened the holes out on the underside of the car so I could fit some spacer tubes to stop the box section crushing. Once the spacer tubes were in I wound in some long 8mm button head bolts with large washers from underneath leaving me with 8mm stud sticking up to mount the seat rails on. No pictures of this unfortunately. But the end result looked like this.
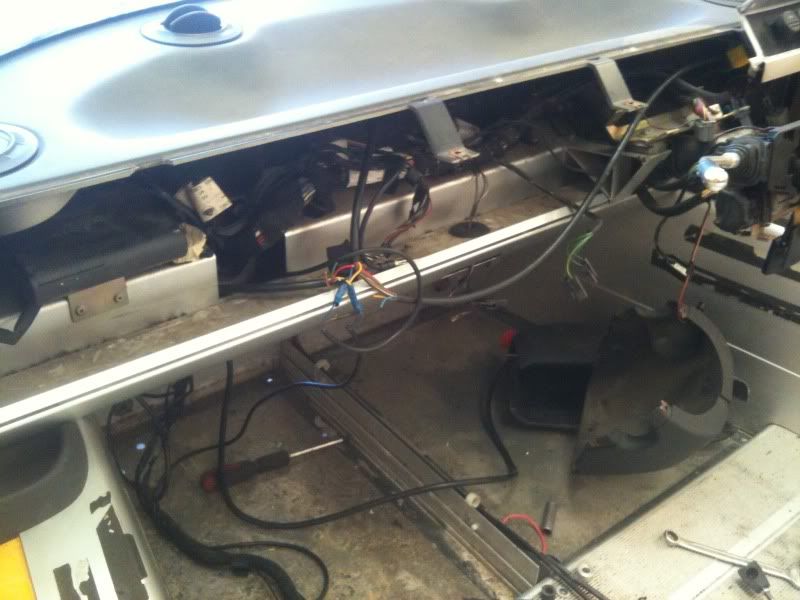
At this point I was delighted to discover that there was enough slack in the wiring loom to redirect it across and behind the seat without having to extend any wires. Result!
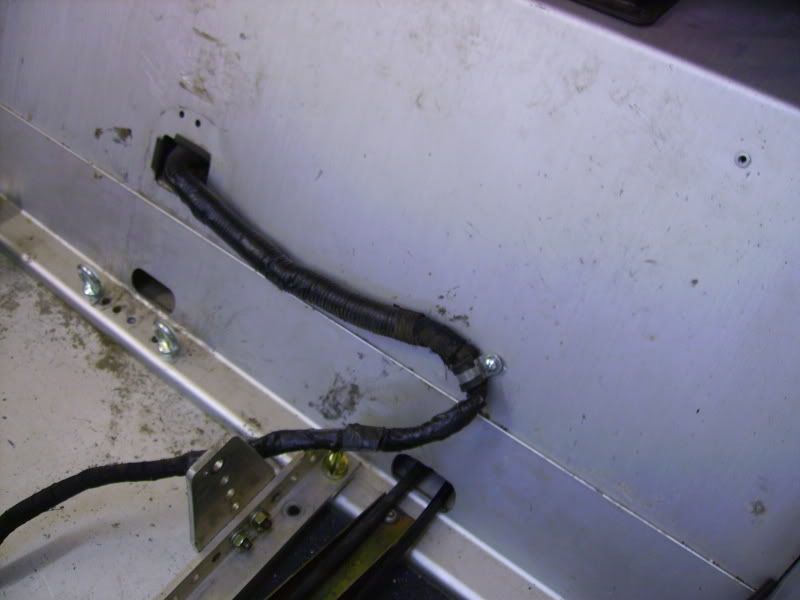

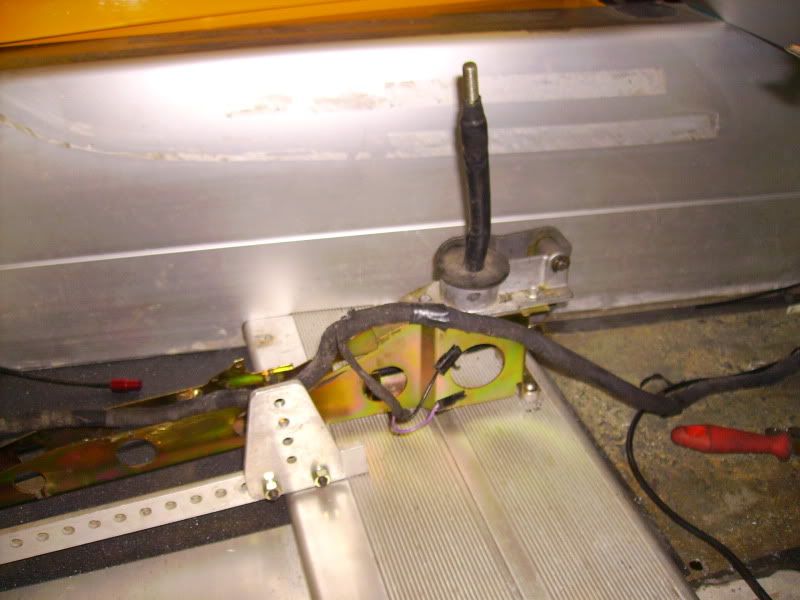
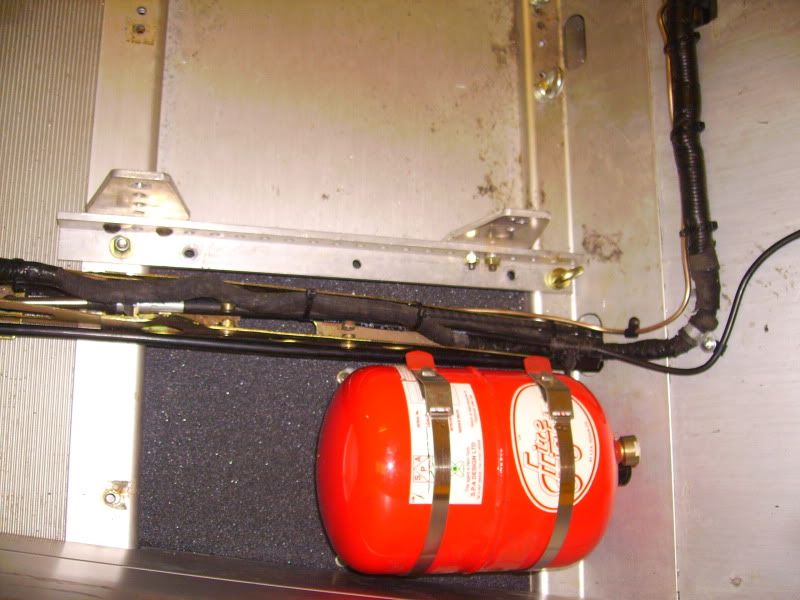
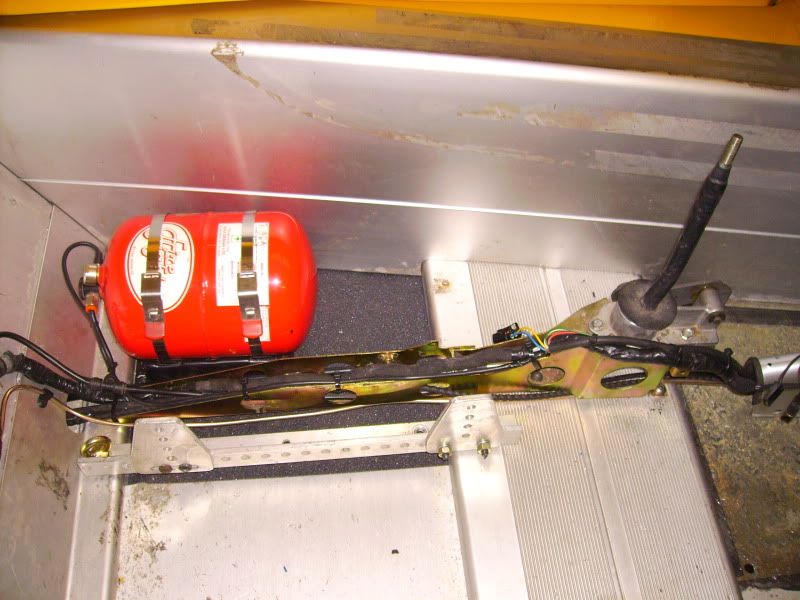
Next job was to mount the extinguisher and run the associated pipework. I also made a new “front to rear” brake pipe and ran that through the tunnel.
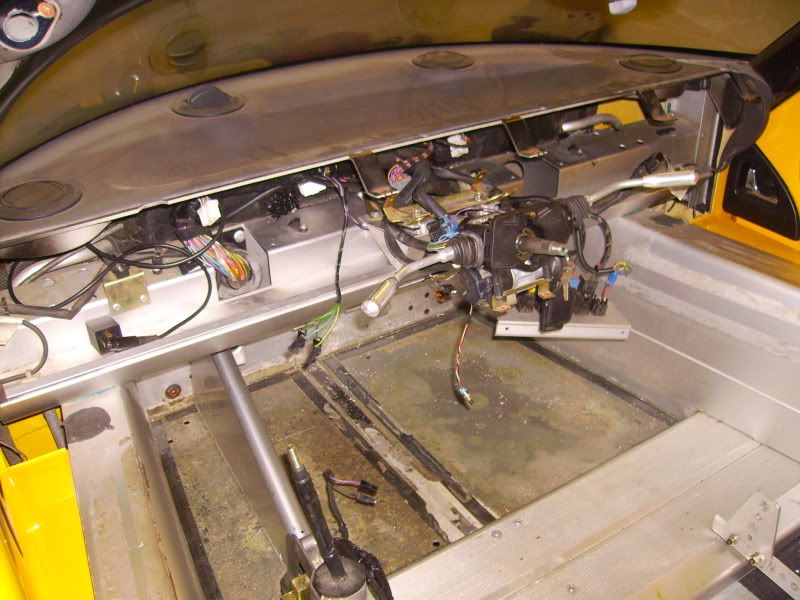
Once that was done I decided to fit the steering column. When the car is in RHD configuration the steering wheel is offset by around four inches to the right of the rack pinion. With the steering wheel in the central position it is offset about 5 inches to the left of the rack pinion. This means that you can leave the rack unchanged and all that is needed is a slightly longer splined steering column. I picked up one of the original Lotus Motorsport items thanks to John @ JSRacing. A knowledgeable and helpful chap.
With the column bolted in place you can see the path it takes under the dash.
I then riveted the front bulkhead plates in place with some Sikaflex to seal it and stop vibrations. I also had to cut a hole in the left hand one for the main wiring harness to pass through.
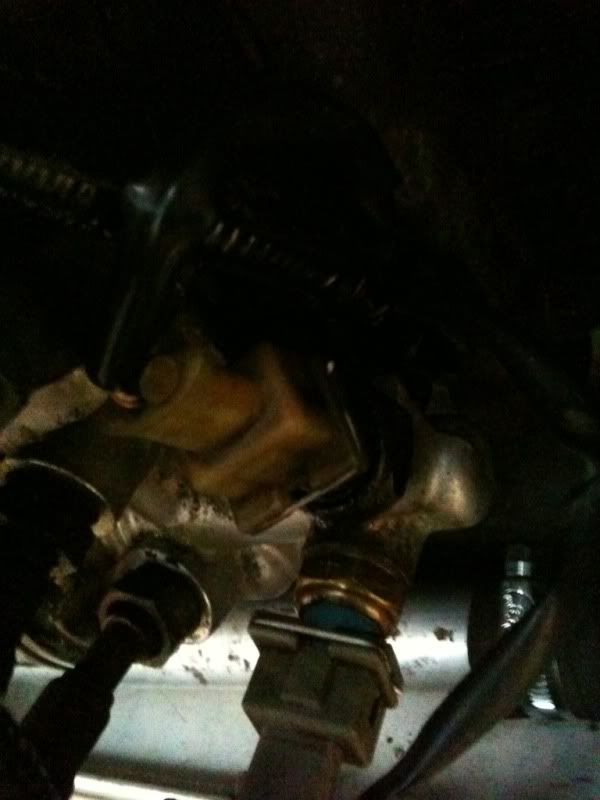
I then set about mounting the brake and clutch mater cylinders and making up the new brake pipes.
Once these were done I trial fitted the wiper linkage. I knew I was going to have to modify this in some way but soon came across my first unforeseen problem.

It would be a bit of an issue topping up the brake fluid with that in the way! Now, I could have just cut that part of the wiper linkage assembly off but I really wanted to keep the car looking as standard as possible and wanted to keep the original catches front and rear so I had to come up with a better plan. The other problem with the wiper linkage was it fouled on the pedal box as it rotated. This was easily solved though.
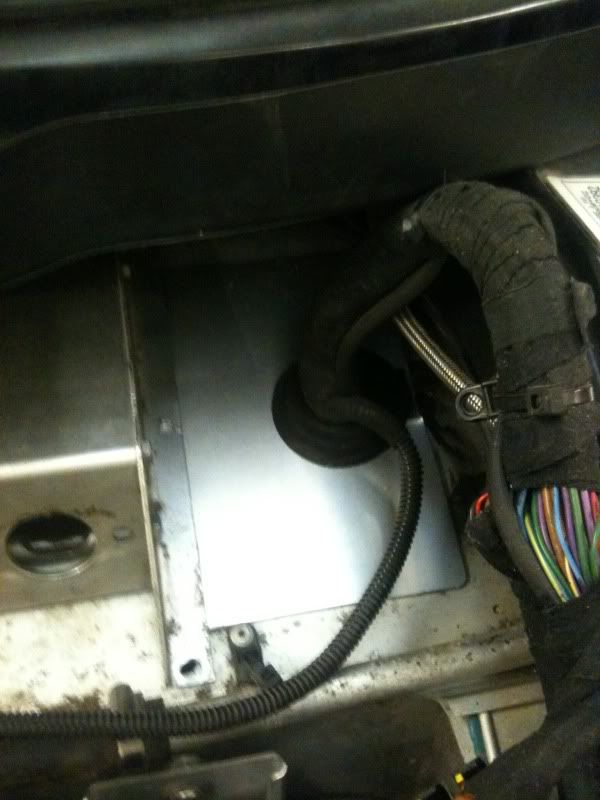
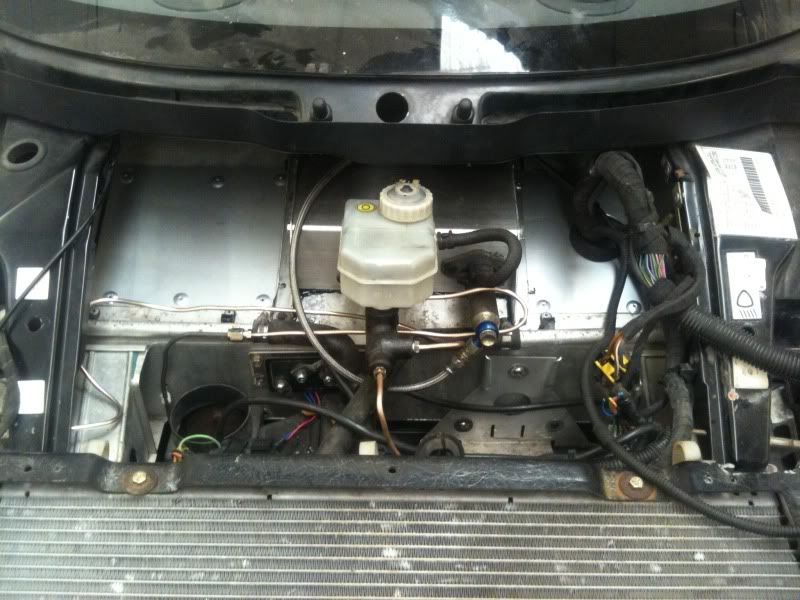
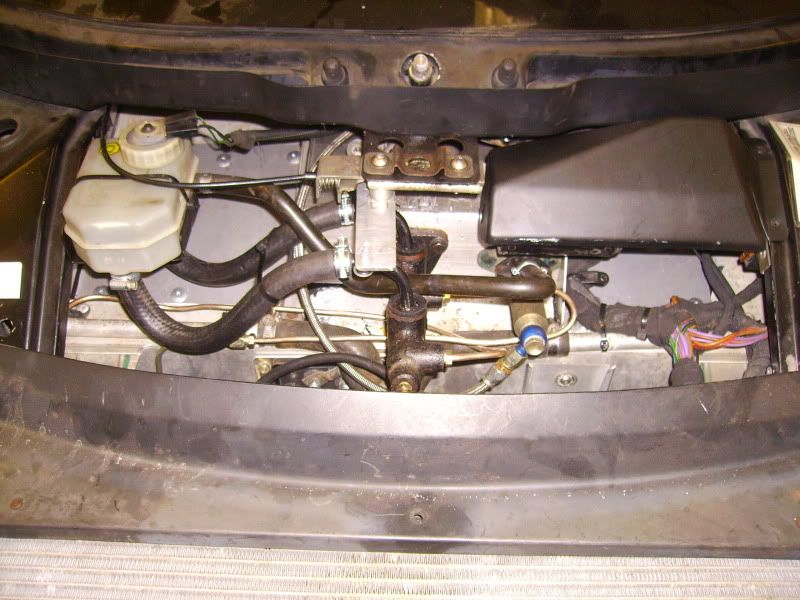
As for the fluid reservoir problem, well I made a new bracket to relocate the reservoir close to its original position on the right hand side. Made up some feed pipes for the brake and clutch master cylinders and ended up with something like this.
More tomorrow. My fingers hurt now.
Update 2
So, this being a race car, I needed proper approved roll-over protection. Originally I had bought an A-frame & petty bar setup but this was a non-starter with the central seat so I had to rethink my plans.
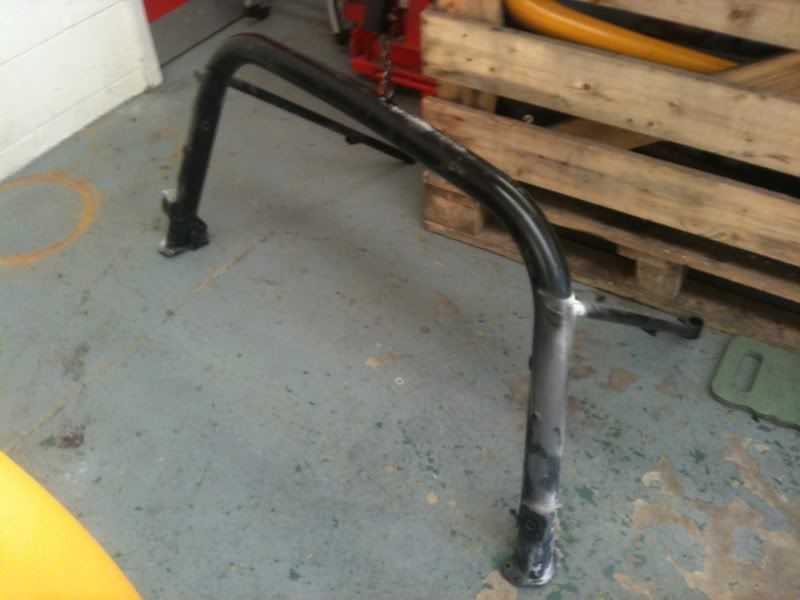
I picked up a second-hand T45 4-point cage for the same money I sold my A-frame setup for so happy days. I set about removing the original roll bar.
I have installed a couple of these before so this bit was fairly straightforward. The main problem is the original roll bar is bonded to the sills with sikaflex. The easiest way to solve this is to remove the door seal and cut the sill behind the door seal and across the small one inch exposed section at the bottom. This means the section of sill where the door striker pin bolts through can be removed with the roll bar then you have much better access to cut the sikaflex off the back of the fibreglass.
15 miuntes with the angle grinder and the roll bar was out.
Once the new cage is installed the removed sill sections can be bonded to the cage and when the door seals are replaced you can see very little of the cut.
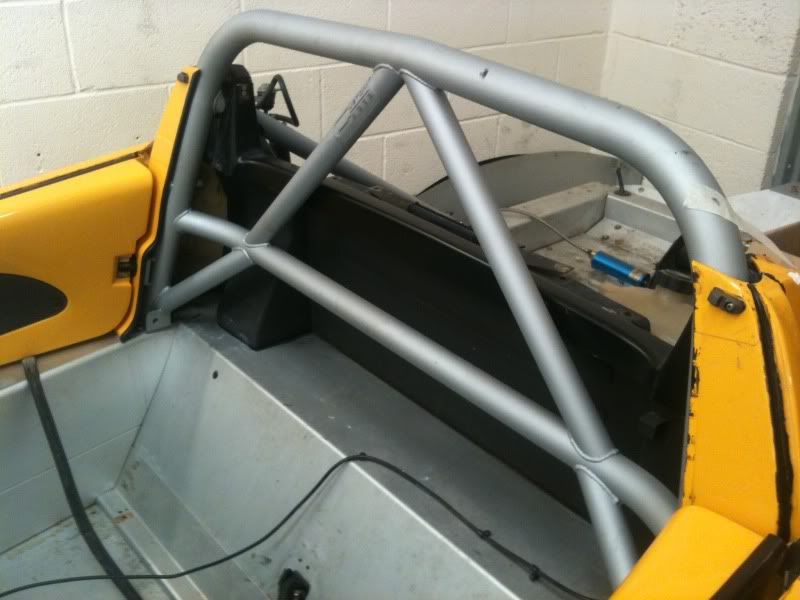
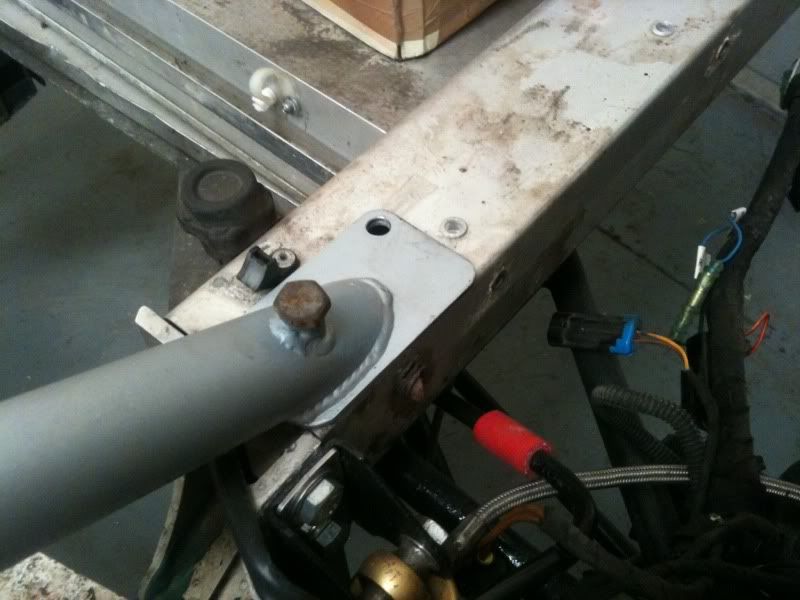
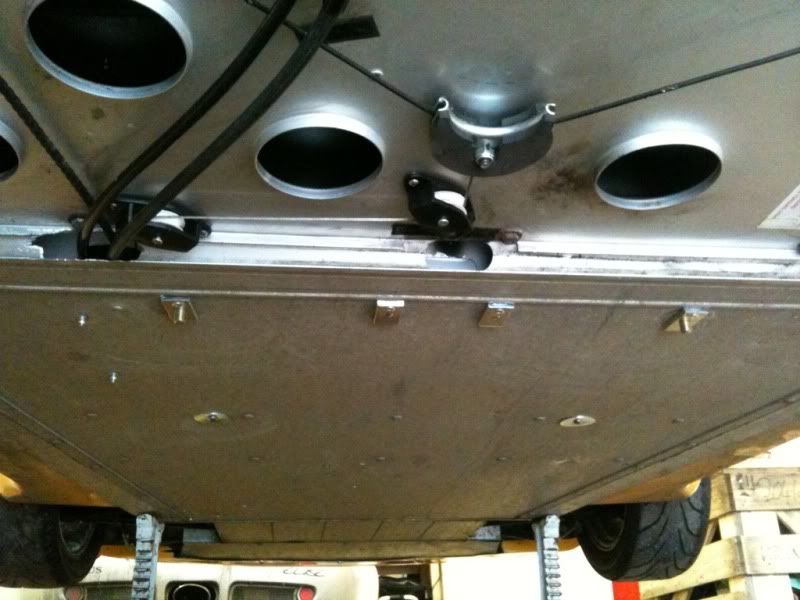
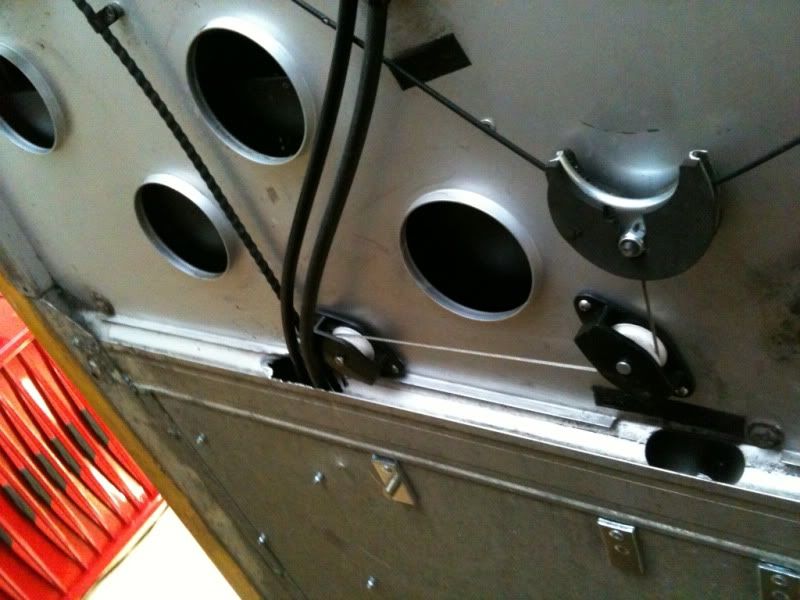
The rear stays on the 4 point cage have two separate mounting points as can be seen below so a new hole must be drilled in the longeron either side for the second fixing.
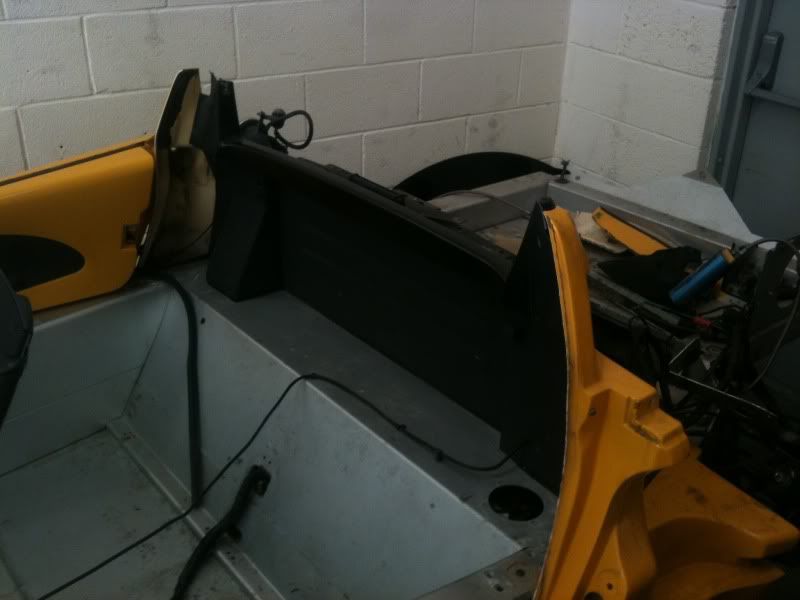
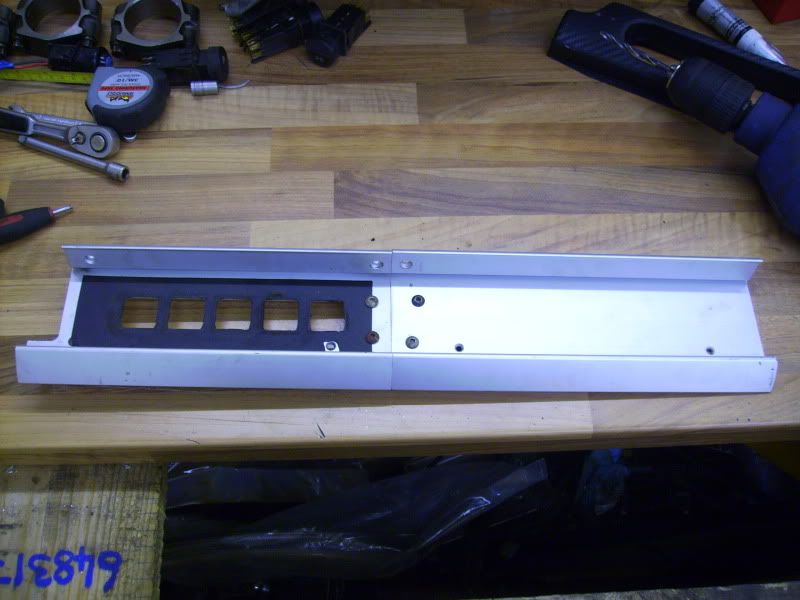
Now that the cage was sorted I set about modifying all the dash panels to fit. The long left hand panels were simple as they all just needed cutting down to fit between the left hand sill and the steering column. I picked up a another long curved top section to cut down for the right hand side and an infill panel to cut down to and fit next to the switch surround panel. For the two lower short ali panels I used the cut-off sections from the left hand one and joined them top the existing right hand panels to create the right length. It would be much easier and a tiny bit neater to buy the LHD version of the right hand panels as they the long ones on LHD cars. They could then be cut down as per the original left hand panels. I was working to a massively tight budget so decided to use all the bits I already had.
Here are the middle panels joined together.
Below shows all the dash panels trail fitted.
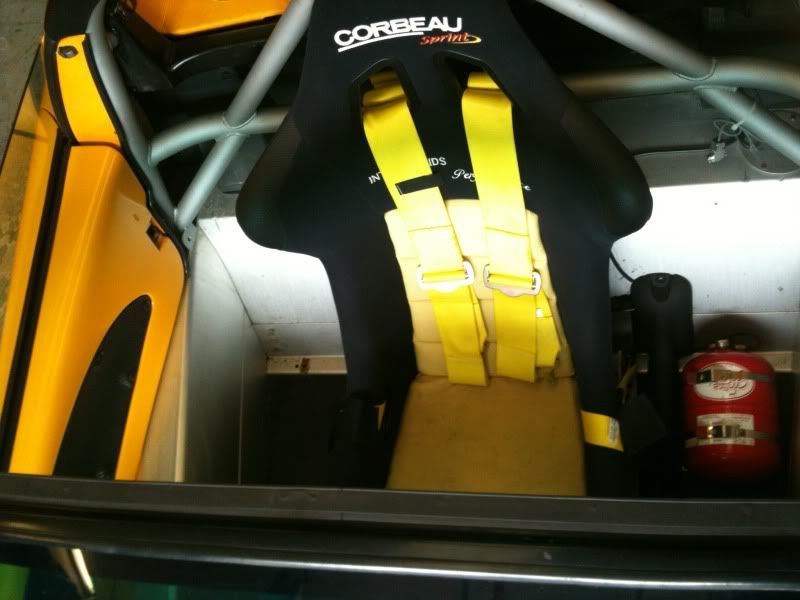
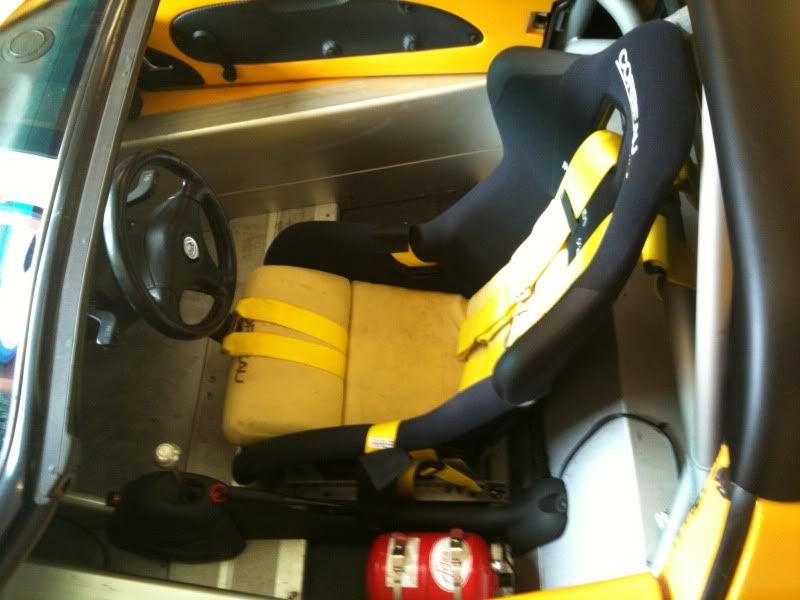
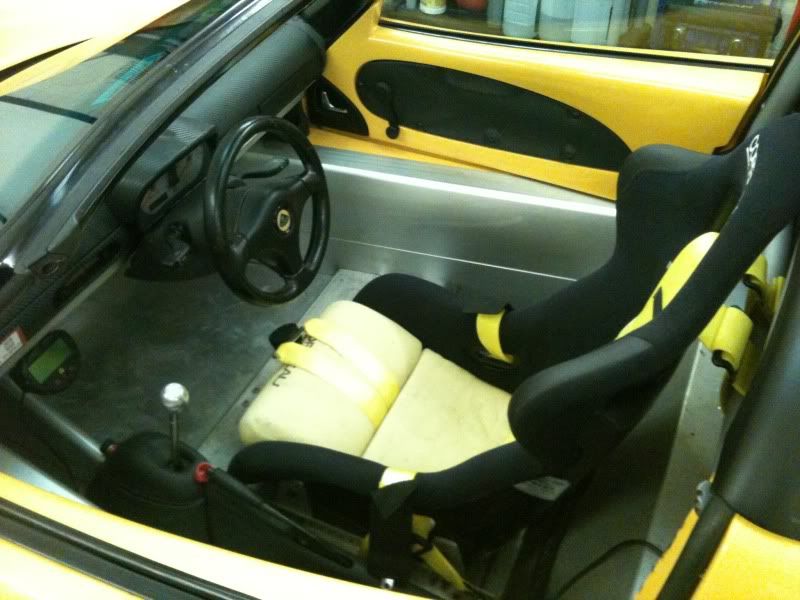
I then removed them all to wrap them in 3M DiNoc carbon vinyl to tidy it up a bit. Also bolted in the seat and harnesses. (Just visible in this pic)
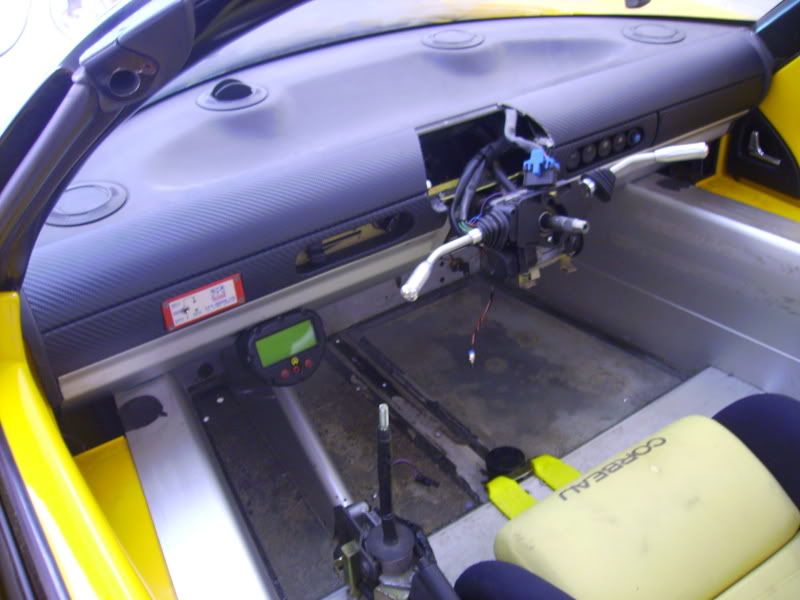
Starting to take shape now.
Twas a right bugger cutting the hole in the dash panel for the extinguisher control panel but worth it. Looks quite neat even if I do say so myself.
Before fitting the footwell divider I had to do something about the floor corrosion. It was in a pretty bad state so decided to seal it with POR15 and bond a new ali panel over the top. Think of the extra weight!!!
You can see it in this photo, along with the stack and steering wheel fitted.
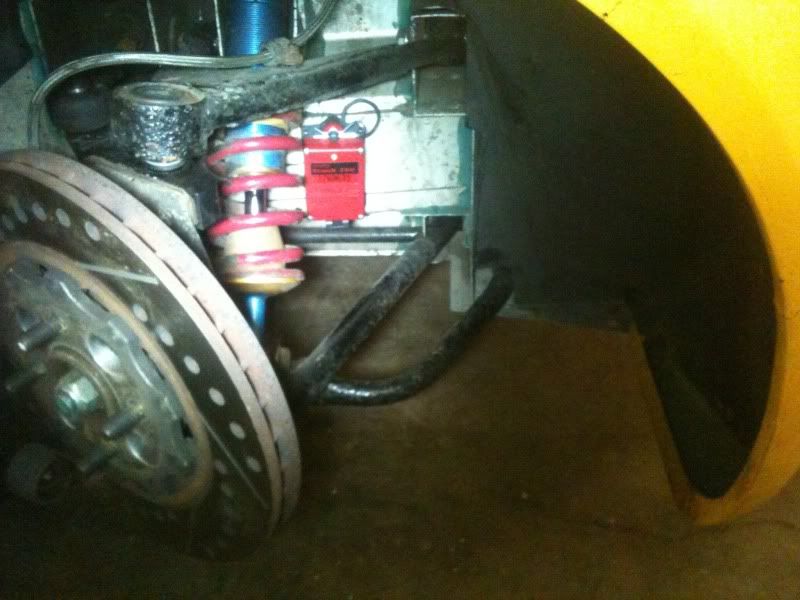
With the interior pretty much finished and still no gearbox I turned my attention to the suspension.
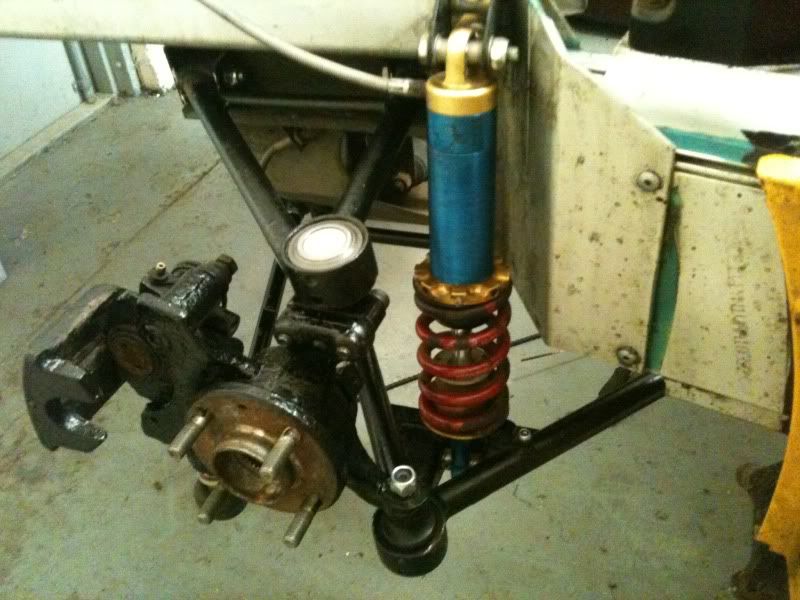
I have decided to use a set of Dynamics 2-way adjustable dampers with remote reservoirs. 600lb front springs and 650lb rears. I replaced all the wishbone bushes with a brand new set of OEM bushes and also replaced all the ball joints, wheel bearings, track rod ends, etc.
I changed the rear uprights for steel ones to increase bearing reliability
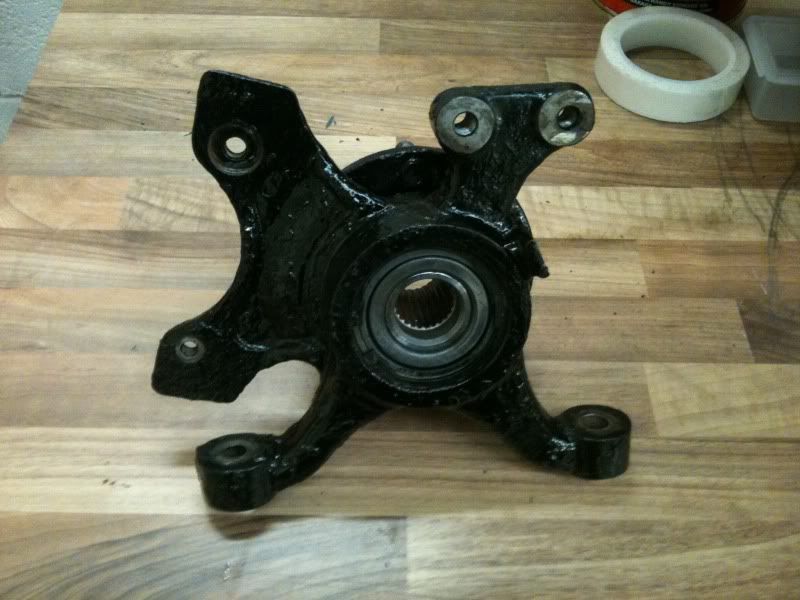
and fitted a set of Eliseparts uni-ball toe-links.
The wishbones were stripped and coated with POR15 black, as were the uprights, ball joint plinths, steering arms etc.
Final result looked like this.
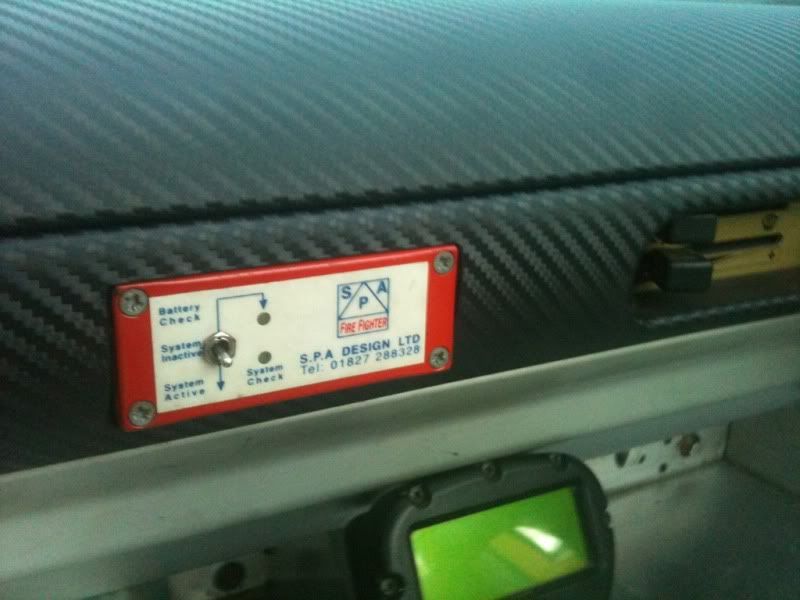
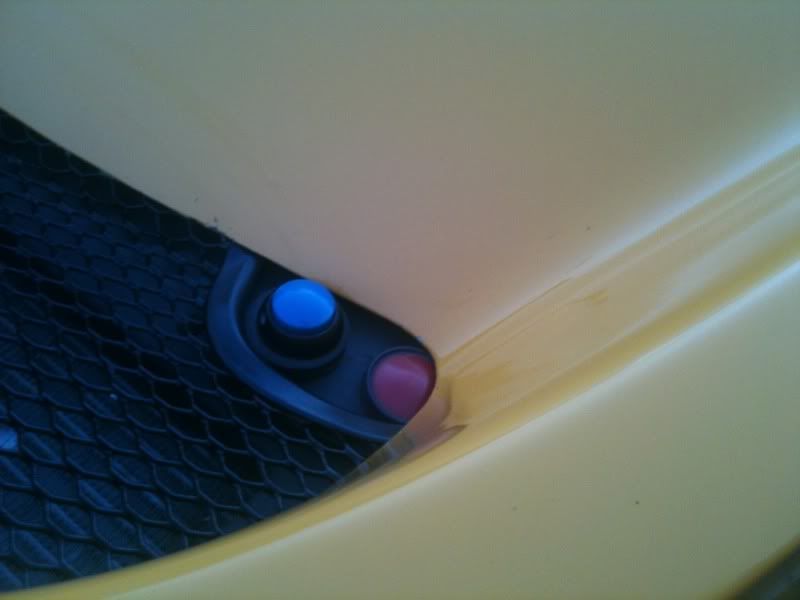
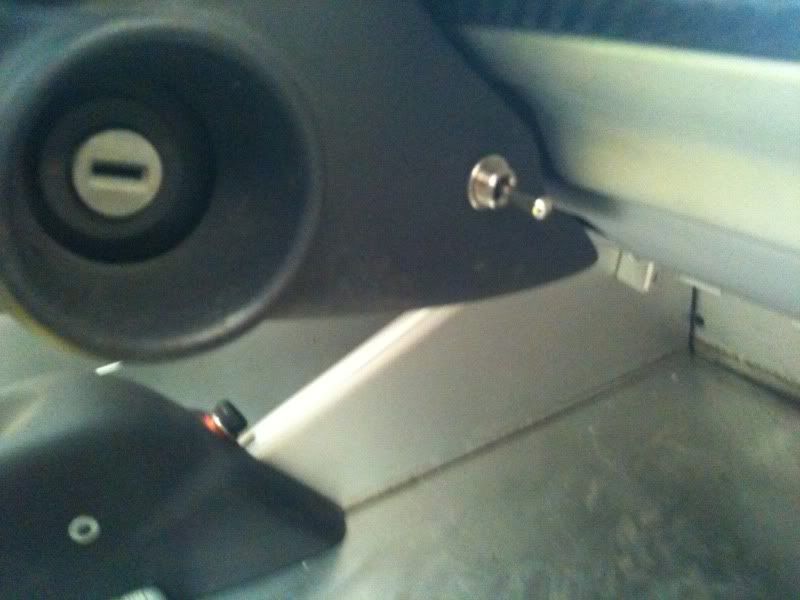
I fitted the electric cut-off and extinguisher external buttons on the radiator surround so I didn’t need to hack lumps out of the clam.
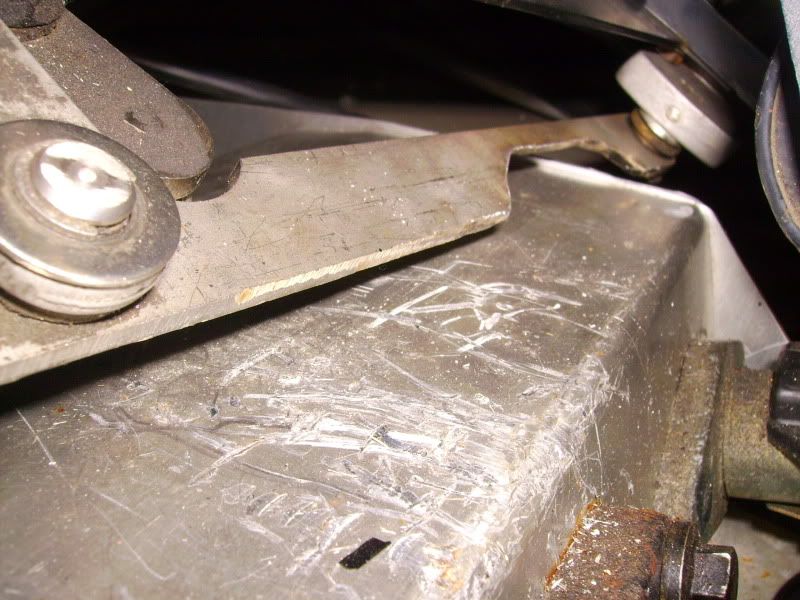
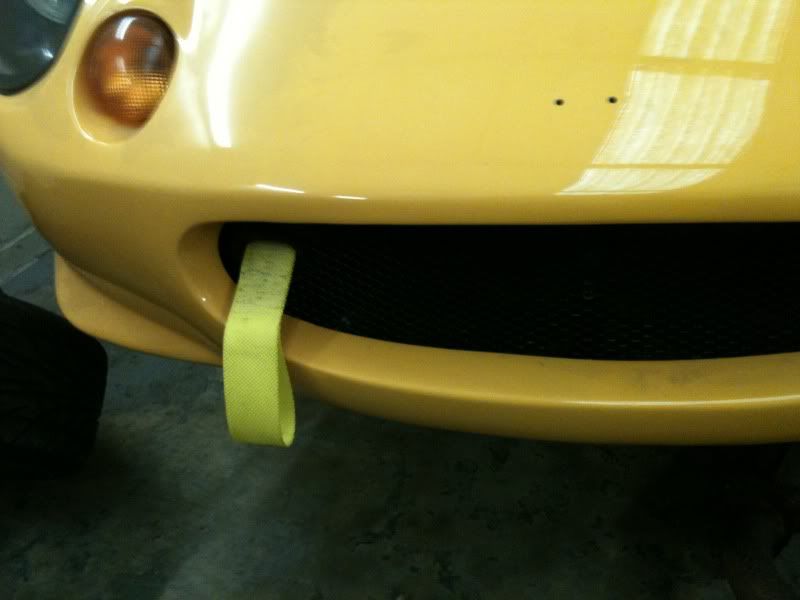
Only other thing to do before fitting the front clam was to fit the front tow strap. This is bolted directly to the chassis where the anti-roll bar mounts.
Then the front end was complete.
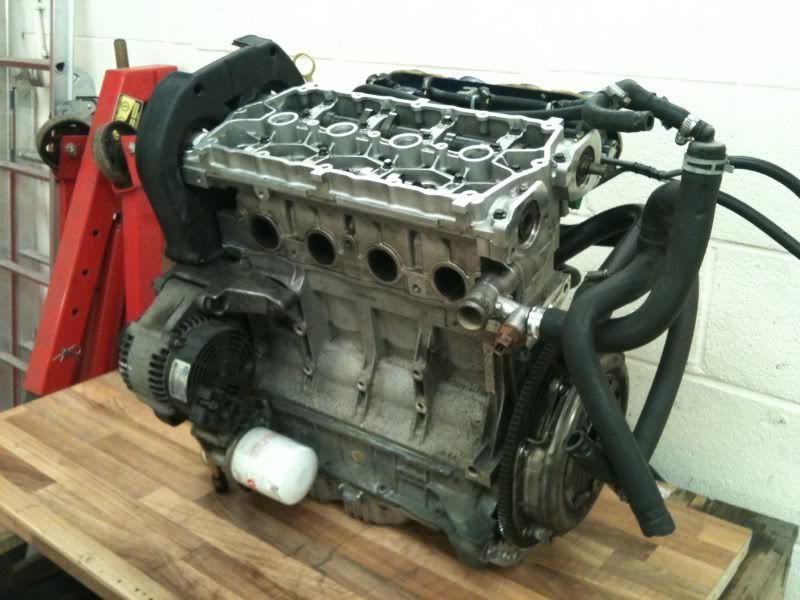
Finally I had a gearbox so could get on with getting the engine in. I have gone for a B6BST gearbox but rebuilt with a 4.2 final drive so it is essentially a B4BST. A close ratio box with a TorSen limited slip diff.
Got all bolted up along with a Eliseparts lightweight flywheel and AP clutch and it was ready to drop in.
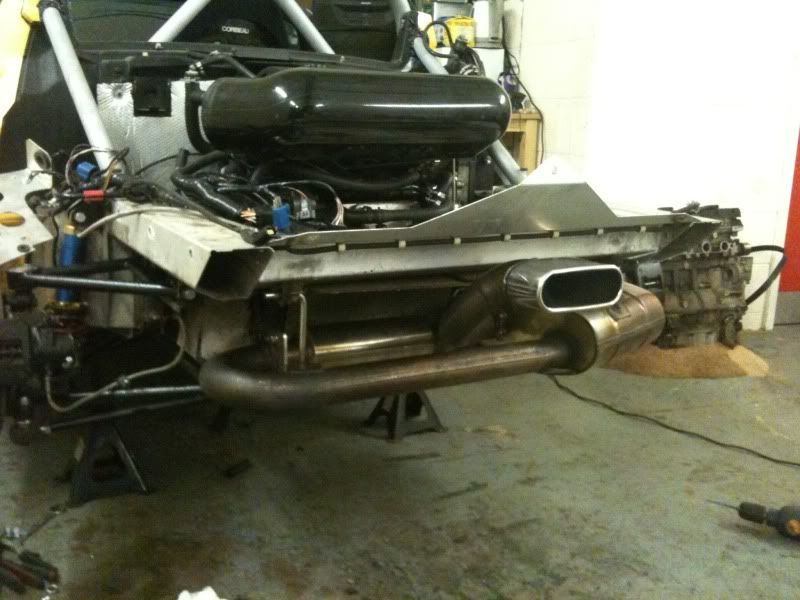
I have fitted a small oil to water cooler from the 160 VVC engine, although this was more for warming the oil up quickly than cooling it. I don’t think oil temperature will be an issue in the short races it will be doing. I have used Titan DTH throttle bodies with an Exige airbox as I got them for free. I am also using a Janspeed 4-2-1 exhaust manifold.
Looks like its meant to be there.
I have fitted a Janspeed supersport exhaust backbox (because I love the sound they make) an a silenced cat replacement pipe.
Bolted up the rear tow strap to the left hand longeron.
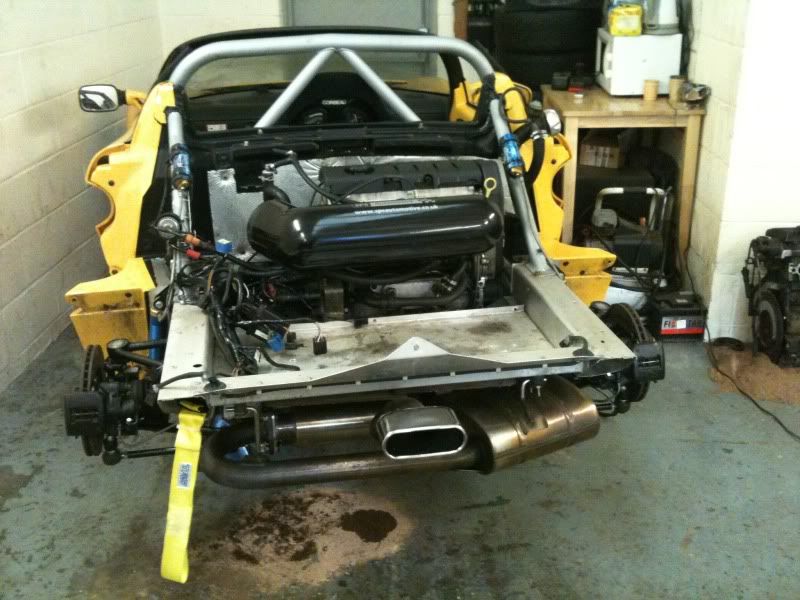
Then I could get the rear clam on.
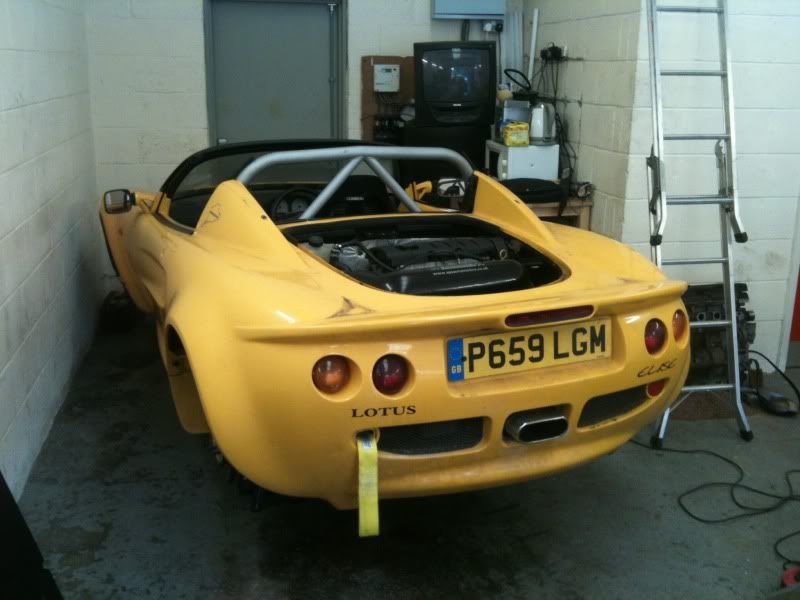
Got the engine cover and rear diffuser on and I could see light at the end of the tunnel.

Although I had run the throttle cable through the cabin I had not connected it up at the pedal end so that needed to be sorted.
I decided to use the later style S2 cable as it is much more reliable and also gets rid of the stupid pivot linkage at the pedal end. Its fairly straightforward to fit with the new abutment bracket .
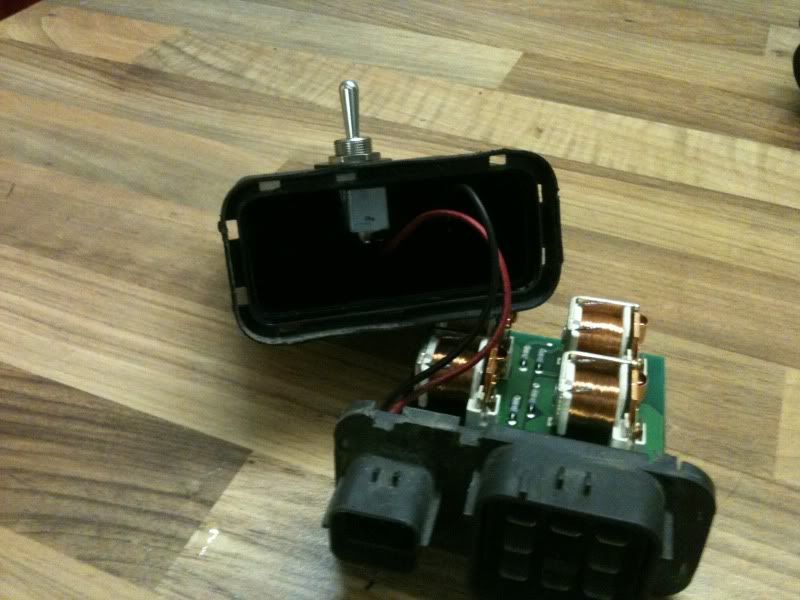
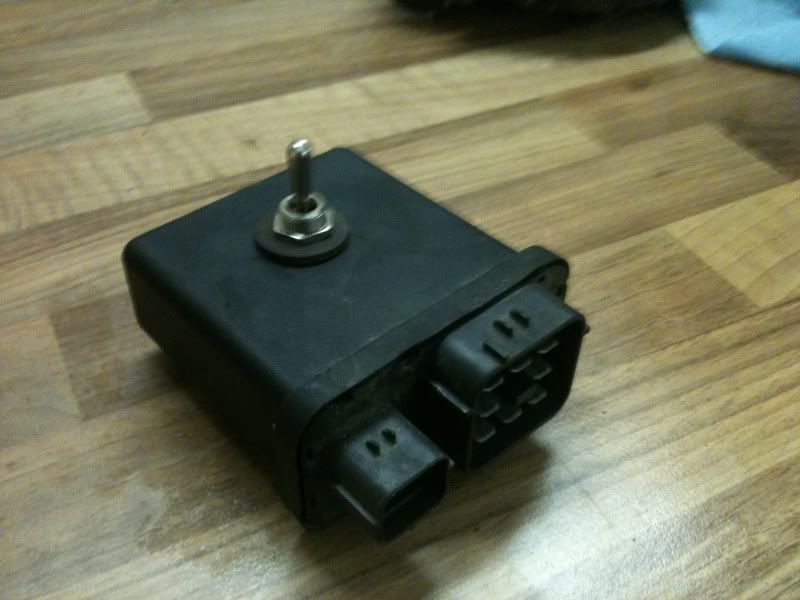
Another little mod I have done is to add a switch to the MFRU so I can run the fuel pump to drain the tank without running the engine. Makes it easier to get the right amount of fuel in before a race.

Just a few more small jobs to sort out. Will post another update tomorrow.
Update 3
Just a small update today. Got a couple of jobs sorted including one fairly major one, but we’ll get to that in a minute.
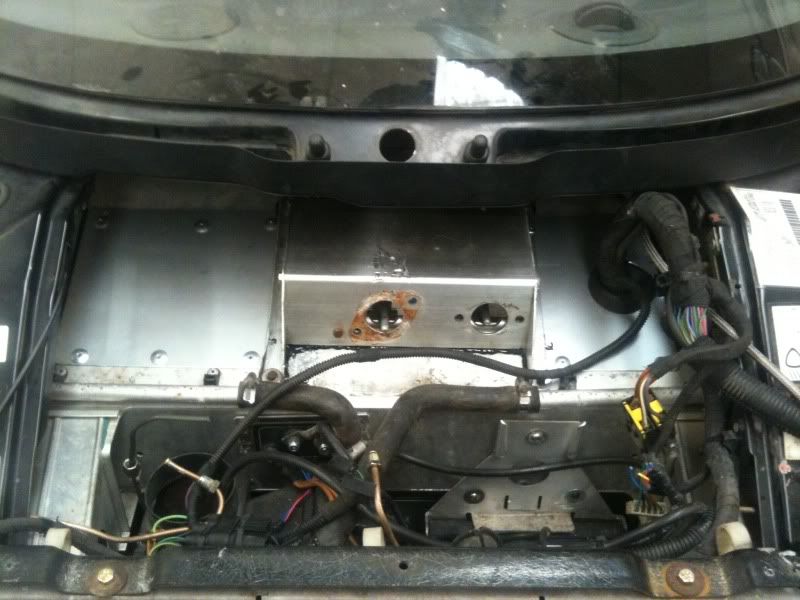
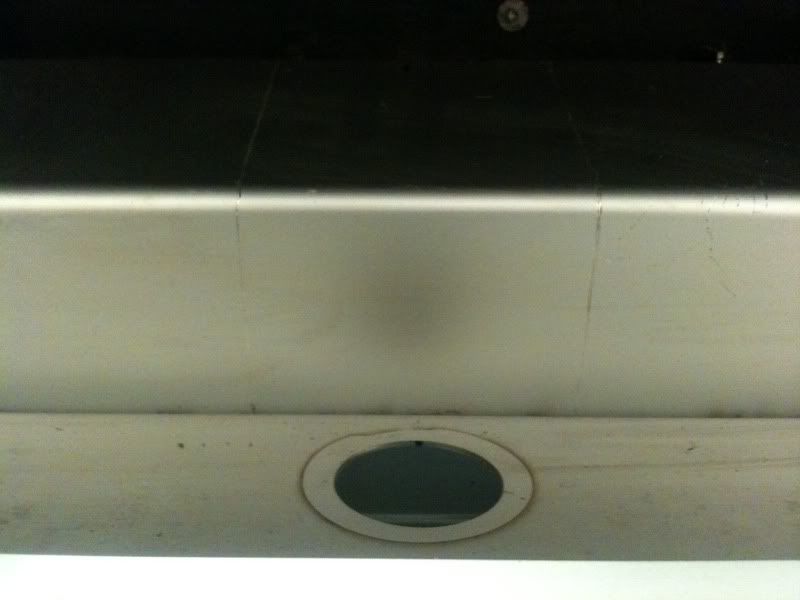
First little job was to fit the high intensity rain light. This has to be fitted in the middle of the car at the rear so I decided to fit it in the number plate recess.
I have wired it in to take power from the fog light and wired a switch into the fog light line to switch that off while I’m racing so only the rain light will illuminate when the fog lamp switch is activated.
Anyway, a picture of the install.
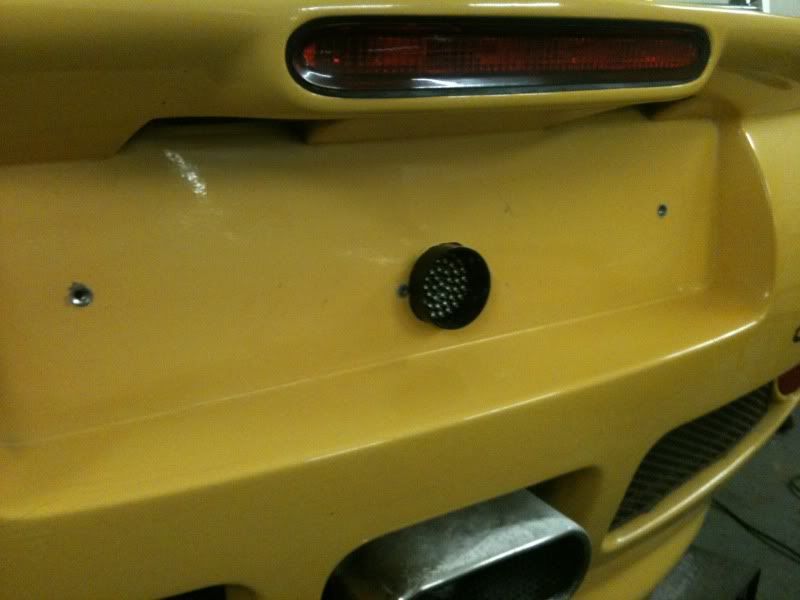
I have mounted the number plate on spacers to clear the rain light.
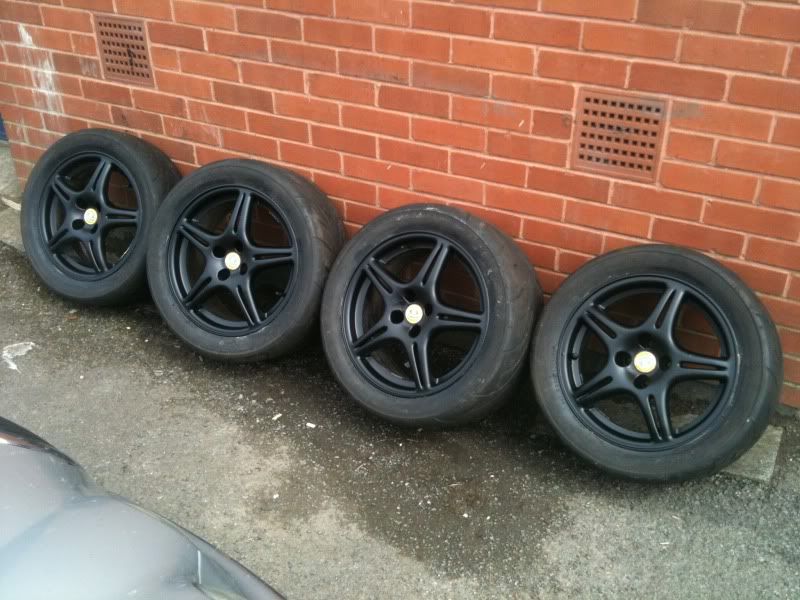
I had two sets of wheels for the car but neither were fitted with tyres so couldn’t really get the off the axle stands. Gave one set a quick coat of matt black and stuck some R888s on them so I could get the car rolling.
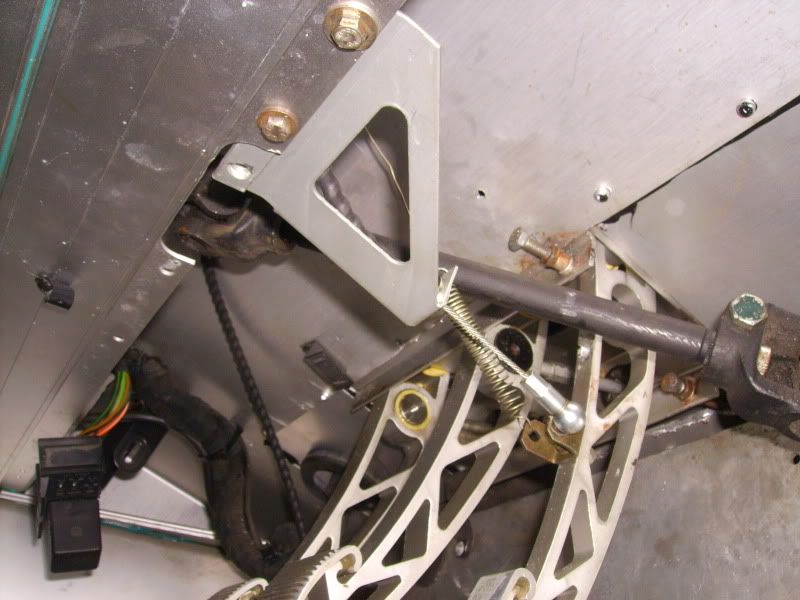
One major job I had left to complete and one of the biggest challenges of keeping the central seat conversion road legal was sorting the handbrake cable.
On the standard setup the primary cable runs from the handbrake lever through the chassis to the equaliser on the secondary cable so when the lever is pulled it pulls squarely from the centre, applying equal force to both handbrake levers on the rear callipers.
On the central seat setup, the handbrake lever, and therefore the primary cable, are moved to the left. If the primary cable was connected directly to the equaliser of to the left the N/S/R calliper would be doing all the work on the handbrake, resulting in a MOT fail.
After thinking about this problem for a while and considering making two separate cable (inner and outer) in different lengths to run from the lever to the calliper (like the esprit setup) before deciding it was too complicated and time consuming, I was having a chat with Phil Peek (Junks) about the problem and he suggested using a couple of pulleys to move the primary cable back to the centre, to connect to the equaliser. Good idea Phil!
A bit of head scratching and a hour of googling later sorted out some pulleys that would bolt securely to the shear panel. The only other issue was that the primary cable needed to be considerably longer to run around the pulleys and across to the centre.
I had no luck finding the parts to make up a new cable so decided to re-use the ends of the original primary cable. I measured up using a piece of string to get the length right.
I cut the ends off the original primary cable and drilled 2.5mm holes down the ends where the cable entered. Cut a new piece of cable to the right length and soldered the ends on. Then it looked like this.
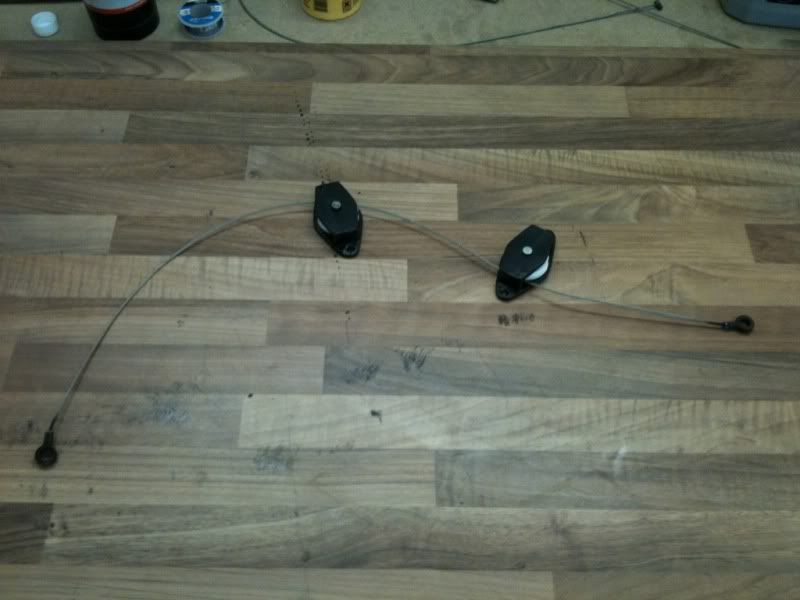
Fortunately I remembered to slide the pulleys onto the cable before soldering the end on as the ends don’t fit through.
Once I got it all bolted up I had a working handbrake. Result! And a massive weight off my mind.
Now the handbrake was done I just had to bleed the brakes and clutch (which was a right pain as the system was bone dry), sort the ride height and geo, and it was ready for MOT.
MOT passed!
Jobs left to do are:
1. Sort some ducting from the blower fan to the dash vents for screen demisting
2. Fit roll bar cover and rear window (Easy!)
3. Run the engine in
4. Get it on the dyno and get it mapped
I have acquired a single skin kevlar hard top which I need to pick up from Scotland at some point. Once I get that fitted I will know how difficult it is to get in and out when I can’t stand up.
I’ll get the car on the corner weight scales next week and will post up how much it weighs.
Update 4
Been busy with proper work so not much progress.
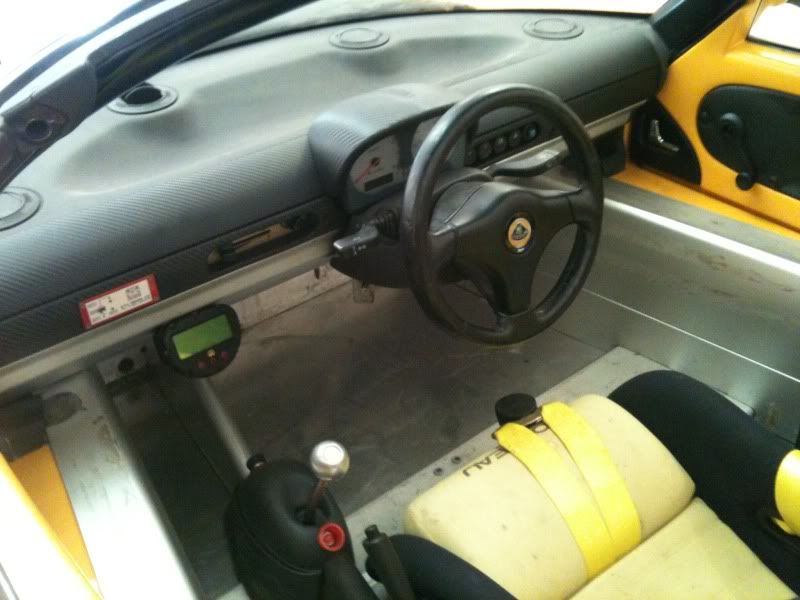
Did manage to get a couple of interior shots to show the finised central seat conversion. Apologies for the quality of the photos.


Thought I’d add a little bit about the modifications I’ve made to the Stack dash. To try and keep the dash looking as OE as possible I have tried to avoid adding any extra gauges and the like.
I wanted to keep an eye on the oil temperature so I installed a blue (Stack) temperature sender into the oil filter housing and wired it, through the engine loom and engine harness connector. Because I had removed the alarm system I used the wires that went from the 5AS (behind the Stack) to the diagnostic socket to get signals from the engine bay to dash.
The oil temperature signal is wired to a relay behind the dash, as is the coolant temperature signal and the output is wired to the temperature display on the Stack. I have installed a switch on the side of the steering column shroud which is wired to the relay and enables me to toggle the temperature display on the stack between oil and water.
I wired it like this but didn’t use the fog light for power and just wired in my own switch.

I know its not an ideal solution and a proper stand alone gauge would be better but didn’t want any extra gauges on the dash. I may buy a Dash2 when funds allow but at least the wiring is already there now.
I also wired up the shift light from the Emerald to the alarm warning lamp on the Stack. Only issue was that the alarm lamp is red, just like all the other lamps so I decided to open up the Stack and change the red LED for an ultra-bright green LED. Works really well and is easily noticeable.
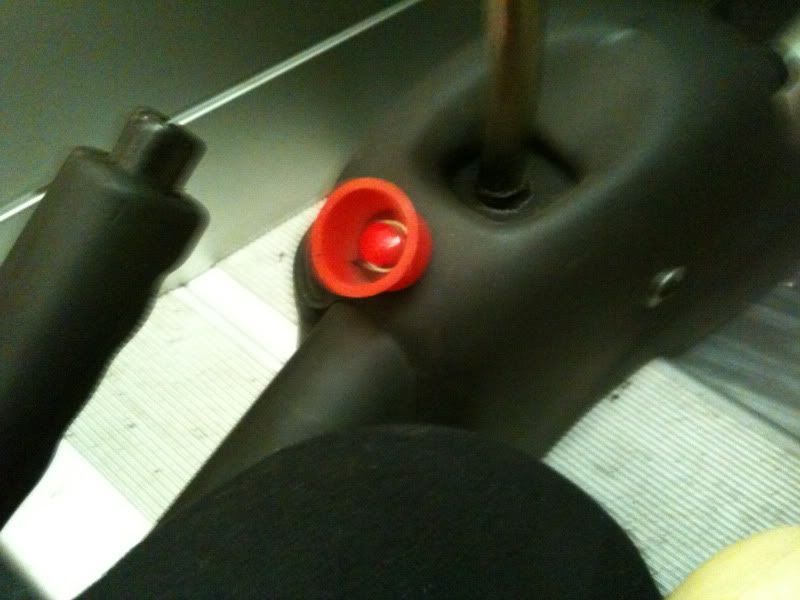
I’ve already posted pictures of the external buttons for the extinguisher and cut-off so thought I’d show the internal ones.

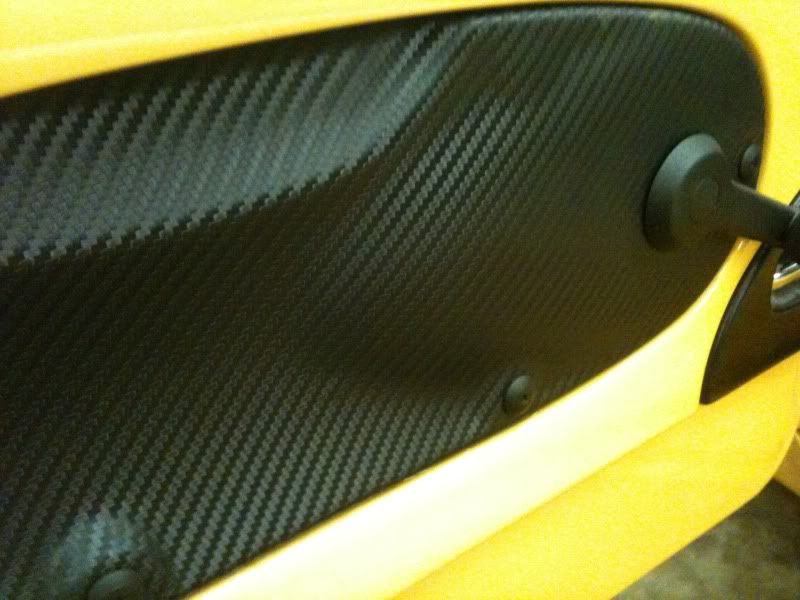
Gratuitous shot of vinyl wrapped door cards
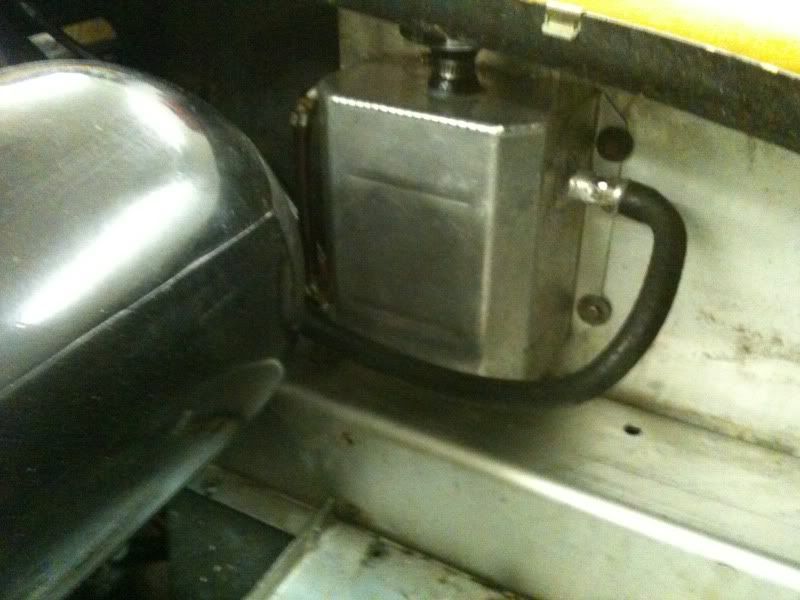
Also fitted an oil catch tank in the boot.
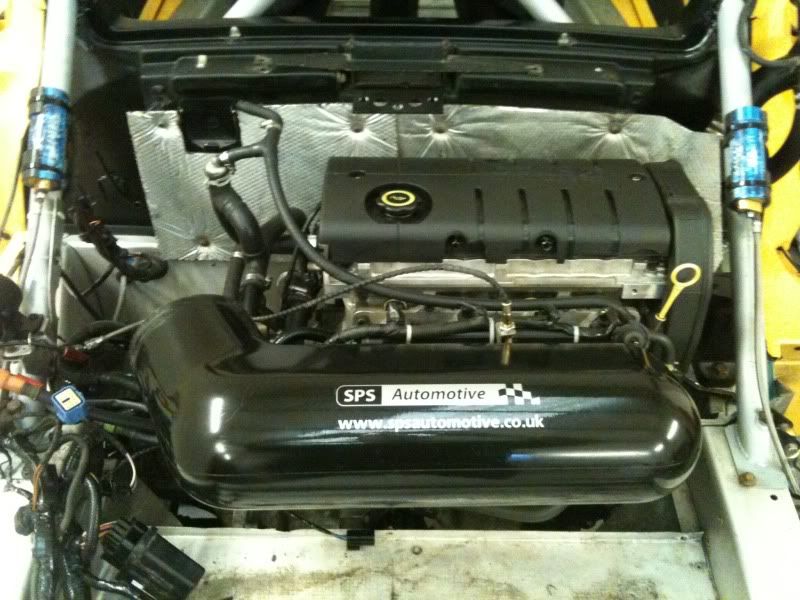
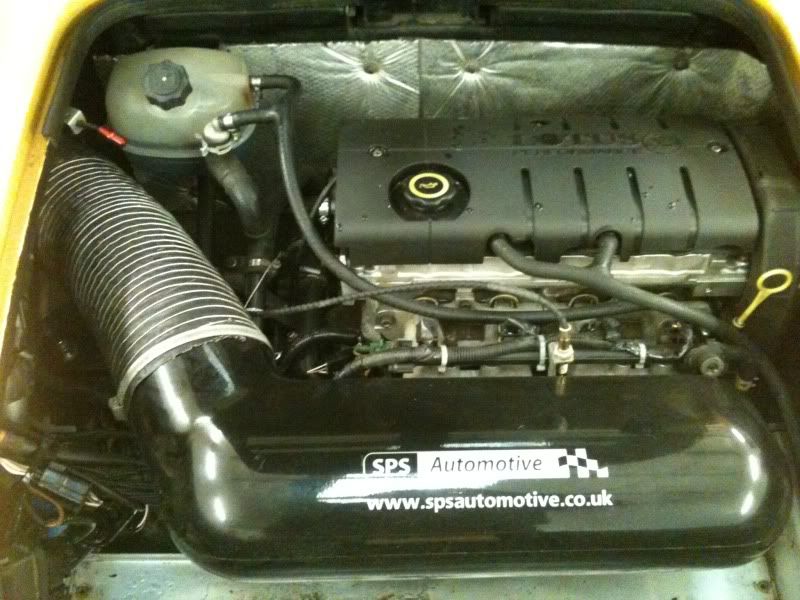
Final shot of the engine bay all finished.
Hopefully will get it cornerweighted at the end of the week,
Need to get it run in but just don’t have the time so one of my customers (Harvey_k_j on here) has kindly offered to run it in for me so I can get on the dyno soon. Cheers Kev!
That’s it for now.
Update 5
Had a lot of work on so not much progress recently.
Popped down to Supercar Sunday meet to put a few miles on it at the weekend.
Have spent a bit of time driving it on the road logging with a wideband lambda and tweaking the mapping on the partial throttle settings in the lower part of the rev range. This should save a bit of time on the dyno and make the running in a bit less painful.
So far I’ve only had it up to 5.5k rpm but it already feels quick and sounds lovely.
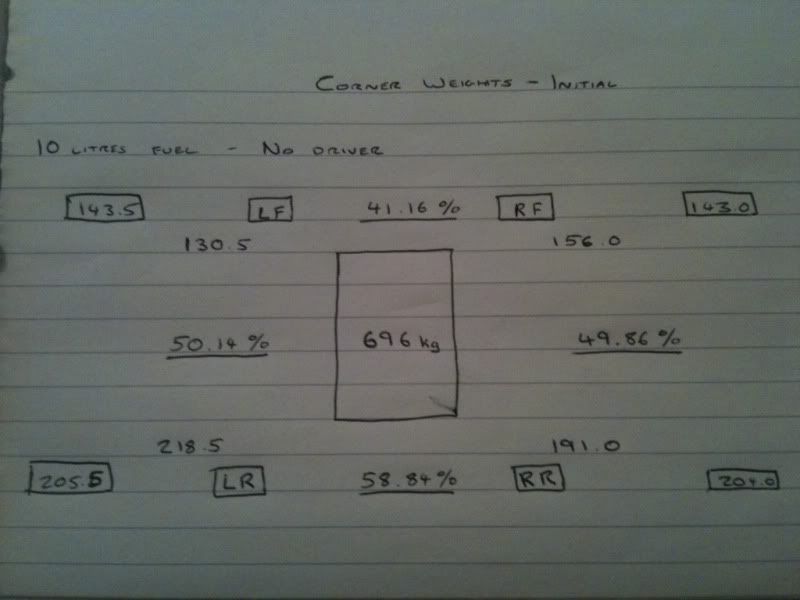
Today I managed to get the car on the cornerweight scales. Been looking forward to this!
I decided to set the cornerweights without any ballast for driver weight and it had 10 litres of fuel in the tank. I had set the ride heights roughly beforehand.
This is my initial measurements. The original corner weights are the numbers not in boxes. The numbers in the boxes are the calculated ideal weights that I would be aiming for when adjusting the preloads. As you can see it is not too far away.
Oh and I was very happy with the overall weight. My target weight was 700kg with an empty tank.
Couple of tweaks on the spring platforms and this was the result.
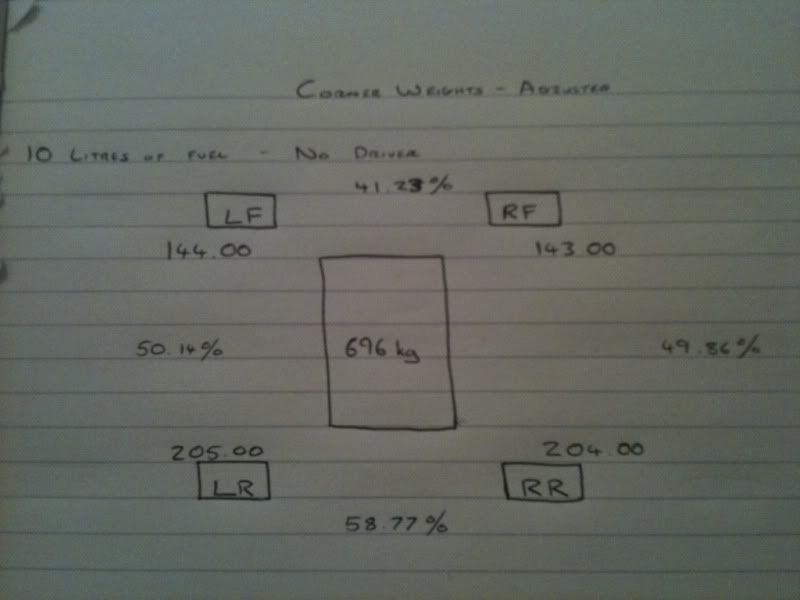
To be honest, I wouldn’t bother to get it this spot on normally but it just all fell into place so wasn’t a lot of messing on. I only adjusted the spring platforms twice.
Oh, and I checked the corner weights with ballast in the driver’s seat and it was still spot on (within a kg anyway). I guess the seat is perfectly positioned in the middle.
Ride heights when the cornerweighting was finished were
Front: 95mm Rear: 105/106mm
Hopefully will get the running in finished over the next week and get it on the dyno.
Update 6
Well its been a while since I updated this so thought I’d better let you know what’s been happening.
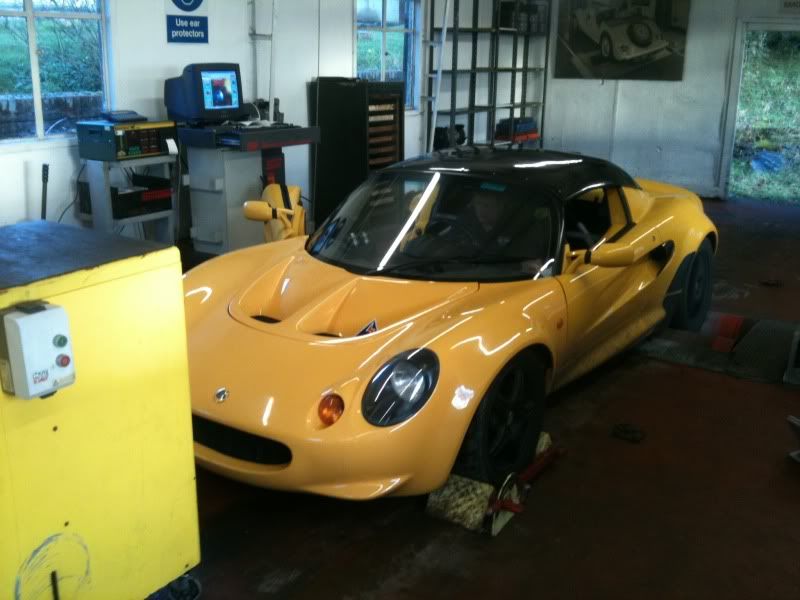
The engine is now fully run in and I’ve had it on the dyno to map it. Unfortunately, the dyno decided to break when I was doing the final power runs so no power figures yet.
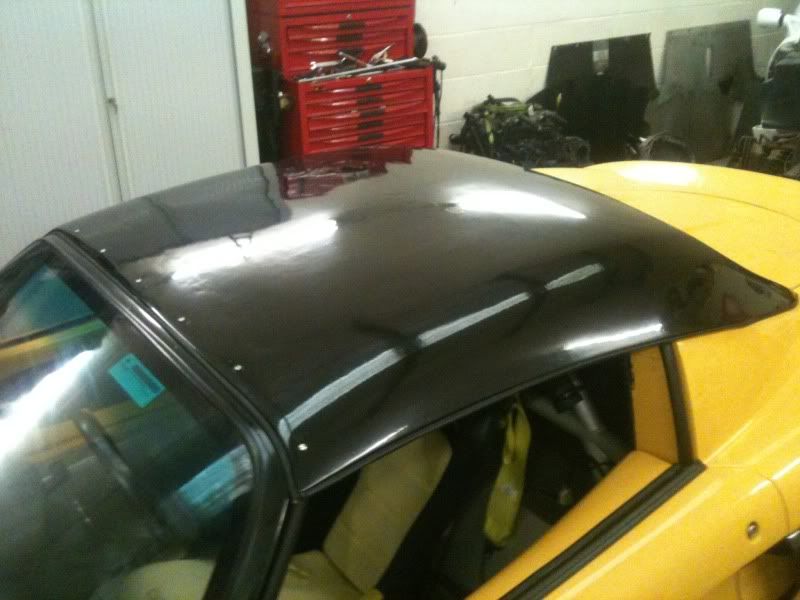
Finally got my hard top sorted. It’s a Kevlar single skin roof from Kelsport. It utilises the standard mounting clips at the rear and has a clamp panel (in carbon) at the front as per a standard hardtop.
I am well aware that this is not sufficient to hold the roof in place at high speeds so I decided to drill the windscreen surround along the top and put some rivnuts in. I have bolted through the roof along the front edge into the windscreen surround so I’m confident it won’t go anywhere now.
Looks ok and should be a bit more aerodynamic. It also weighs bugger all!
One other thing I was concerned about was engine bay cooling. I have fitted some carbon side scoops but one feeds the airbox and the other feeds an alternator cooling duct.
I decided to space the rear diffuser down to get some of the hot air out . This has the added benefit of getting the diffuser closer to the ground, hence making it more effective.
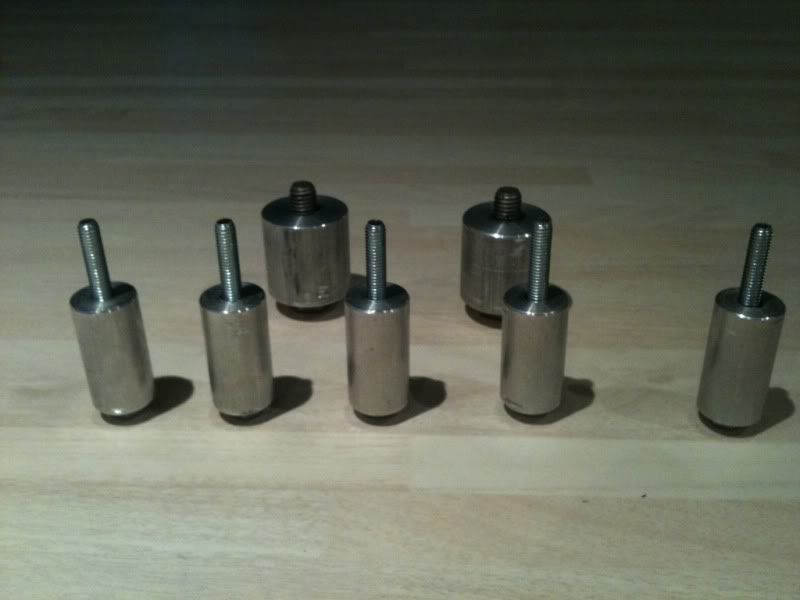
Half an hour on the lathe and I’d knocked up a set of spacers. 30mm for the rear ones and 25mm for the front ones.
Once fitted up it doesn’t look too bad.

Once that was done I decided it would probably help to get more air into the engine bay as well as removing it to keep temperatures down so I added a couple of extra Naca ducts in the engine bay undertray.
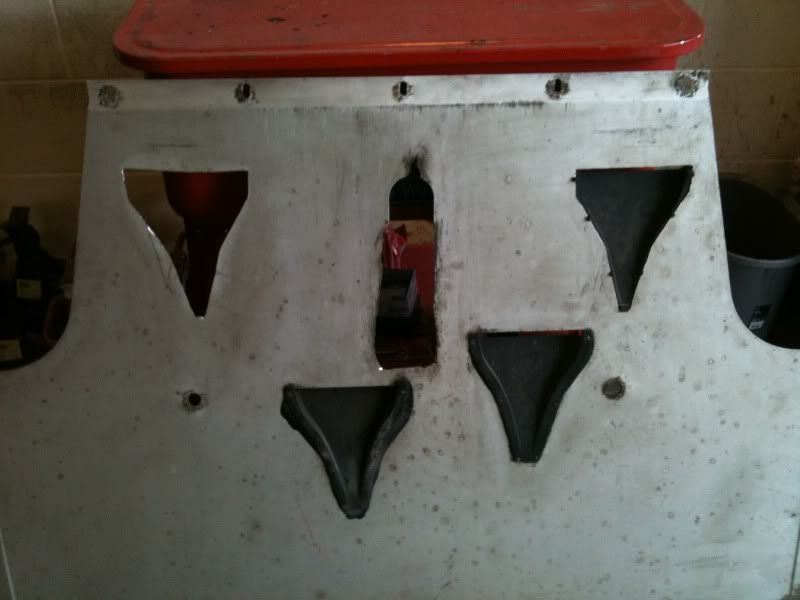
Hopefully that will keep the engine bay temperatures under control.
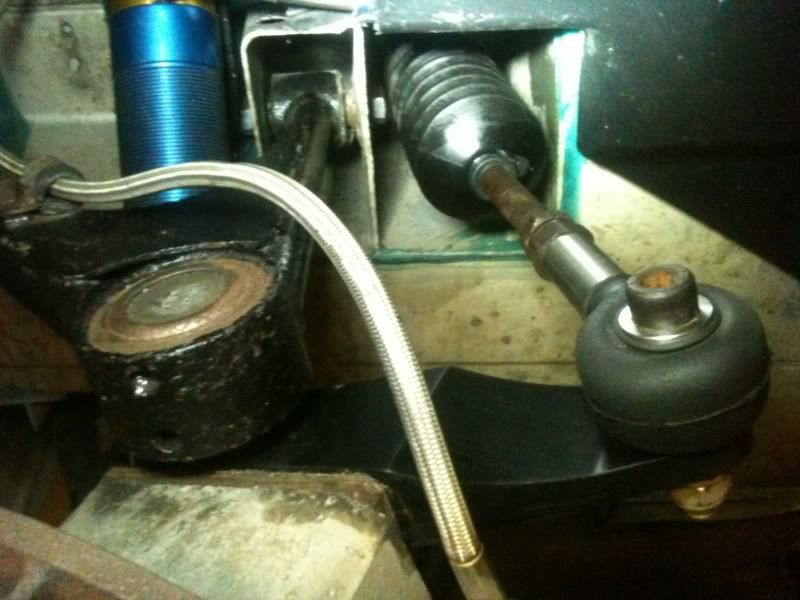
Due to the very low ride height I was experiencing bump steer issues so splashed out on a set of Geary’s steering arms and track rod ends. Lovely bit of kit and a good bit lighter than standard arms. This meant I could get the track rod angle back to where they should be and the car a lot better.
Another couple of small jobs and it was pretty much done.
Roll cage padding

Transponder mounting
Now it was all sorted it was time to get it on track and see what I could break.
Went to Teesside Autodrome for a days testing with my two mates and we had the circuit to ourselves for the day. Not bad for £60 each! It’s a fairly small twisty circuit but you can still do over 100mph on the back straight.
The car ran perfectly all day and the only problem was a blowing exhaust that turned out to be just the lambda bung had fallen out.
Quick drive by vid from the day.
http://www.youtube.com/embed/P3nM5DhipRI
Bit of in-car footage
http://www.youtube.com/embed/BOZrJXxHg7E
Engine felt strong on the day and the car felt planted and easy to control on the limit.
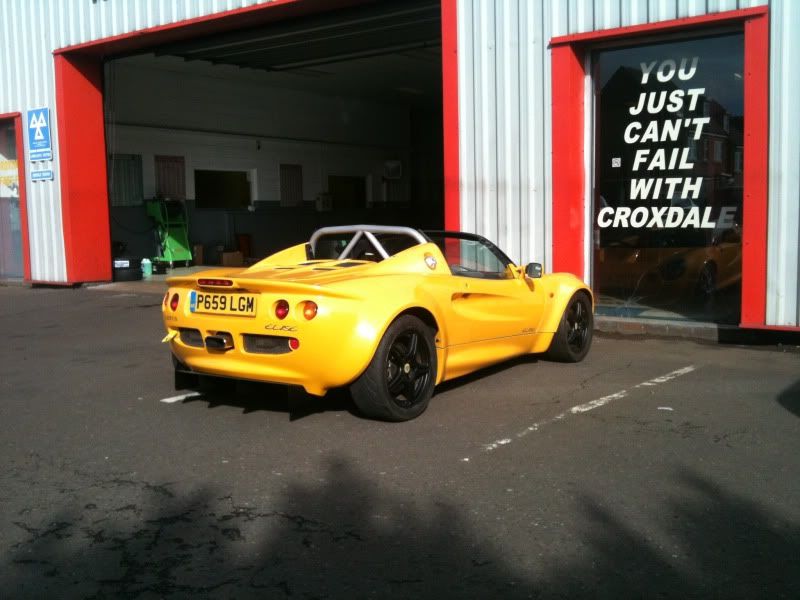
And that’s pretty much where the story ends. The championship I was planning on entering has changed the regulations to specifically exclude central driving positions so I’m currently deciding what to do. I may even convert it back to RHD just to annoy them.
I’ll update the thread again when I have decided what I’m doing with the car and I will get back to the dyno for a power run at some point and post the results.