It wasn't all rosy.
Gaskets were blown, big parts needed replacing, updating and some simply wore out.
Worst of all mistakes were made and Mr. Gaffer was brought in to hold everything together for a while.

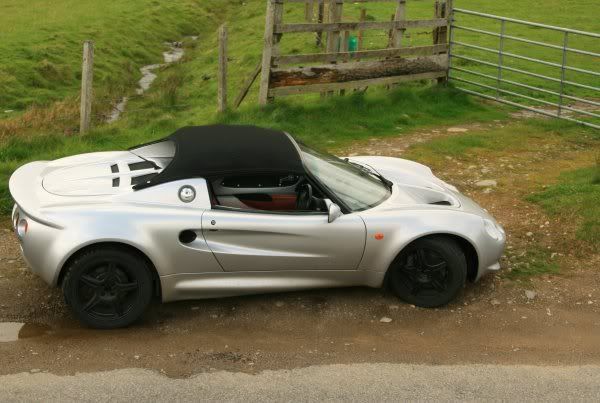
Things weren't running too straight either. This lead to a toe link upgrade kit which was actually fairly straight forward to fit. I took it easy and had it done within a couple of days, then roughly set my geo with a couple of axle stands and a washing line.
After only 2 attempts, spread by a short shakedown run, the car was actually driving pretty straight and wasn't too unpredictable. There was no question a geo setup was needed though so I booked it in. (big thumbs up to CLCM in Edinburgh, Willie is a really great guy who was patient enough to answer my questions and explain things that i'm sure are second nature to him!)
It was time to access the damage, start weighing up costs and making lists of parts required.

Other friends were going to suffer as the lead project was about to change. The rusty little bugger was about to be put to one side, and just after fitting some tasty new callipers in my quest for fitting silly little wheels to it!

The Mini hasn't really moved from that spot in maybe 4 months now. It does have a grill now, but the clutch cylinder is seized so it doesn't go far!
I found another one of these:

- that's the broken one, I was thinking of maybe doing some funky pot planting or something

Reckon it'll probably make its way to eBay soon enough.
The replacement was already primed (though about a year previous) and was from a later car. I found it in the midlands, which was handy as I was heading that way anyway, it just meant I was taking a hire van rather than a taped up Lotus. Best of all it hadn't been repaired at all, and was only 250 quid. The guy was glad to get rid of it as it took up space in his bodyshop/van and I was happy with the bargain (even if it was the later style clam).
For future reference, boot box clams fit early cars with only a few mods (thanks to those who told me it was possible).
These include (in no particular order):
Drilling out 3 alloy panels
Fitting 6 new rivnuts into chassis longerons
Sawing a bit off the exhaust heatshield (where it angles up towards the rear)
drilling out 6 old rivnuts that held the alloy uprights that you've removed
Relocating the ECU and figuring out a way to mount the other wiring within reach unless you want to separate the loom
I cut a hole in the boot box and run the parts in to save extending the loom for the rear lights section.
Also if you retain the original alloy boot lid, you'll need to cut the straight upright portion at the back of the boot box as the later fibreglass boot lid seemingly sits higher.
As for the boot box clam is heavier, having lifted both by myself, i'd say there isn't really much in it.
mwmackenzie wrote:P.S She's beautiful

She's actually pretty rough
Part 3 coming soon...
Chris