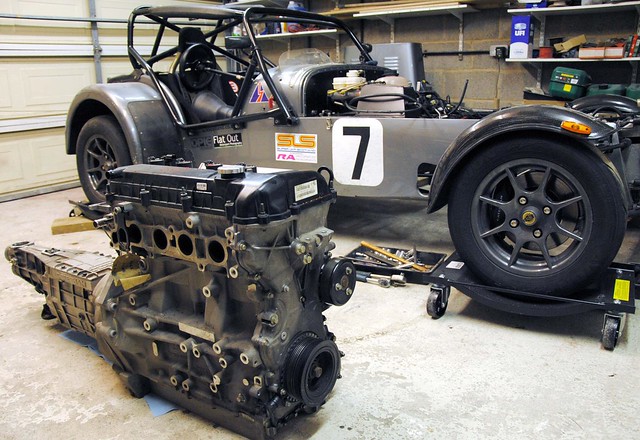
Time for an update
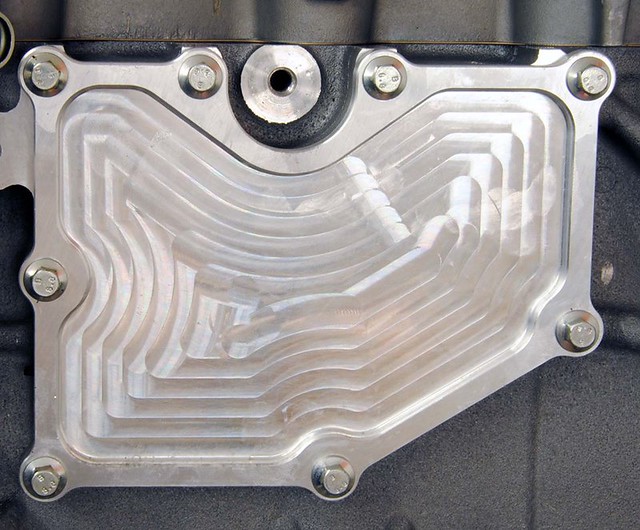
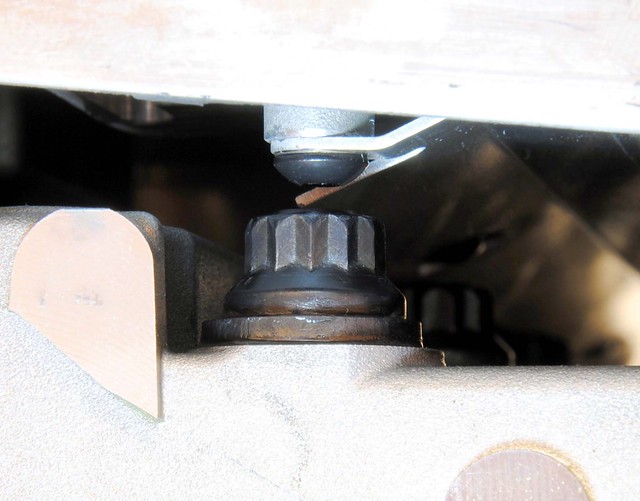
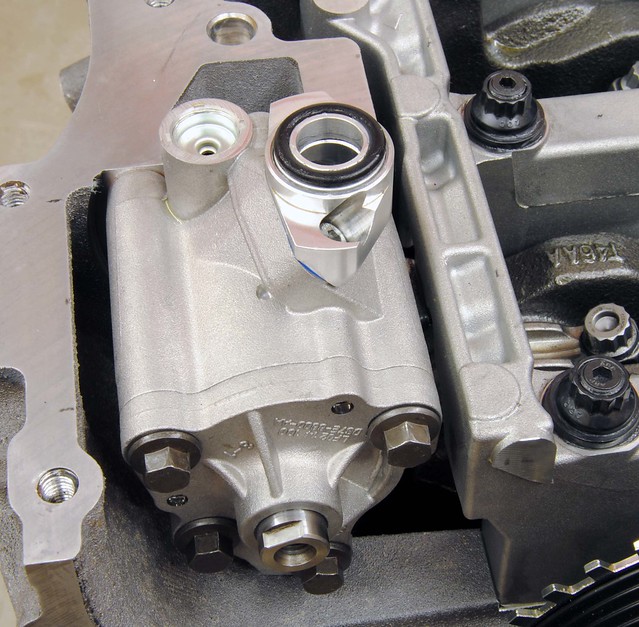
I am using a Caterham branded Titan sump that I purchased in my 2010 upgrade. I covered it on a previous blog so won't go into detail here. It pre-dates the Raceline sump that most people use today and does not provide ground clearance of that unit, but otherwise works well. But there is a weakness in the connection to the pump which needs to be checked: a 'top hat' arrangement provides 2 O-rings that are squashed between the sump but the pump. If the oil pump is ever removed, you need torque it up while it is held up towards the the sump to guarantee a good position and seal.
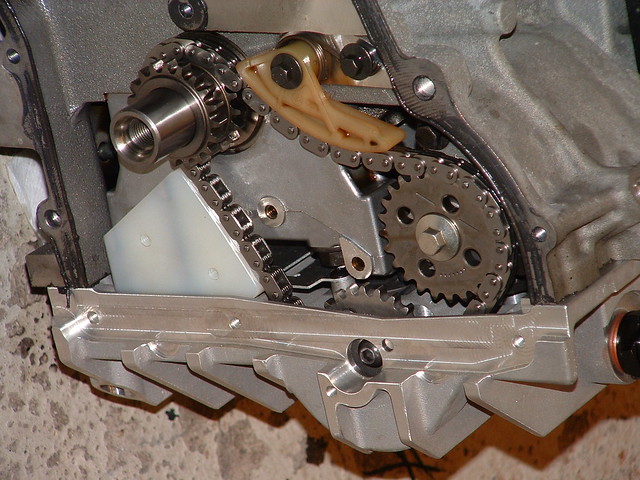
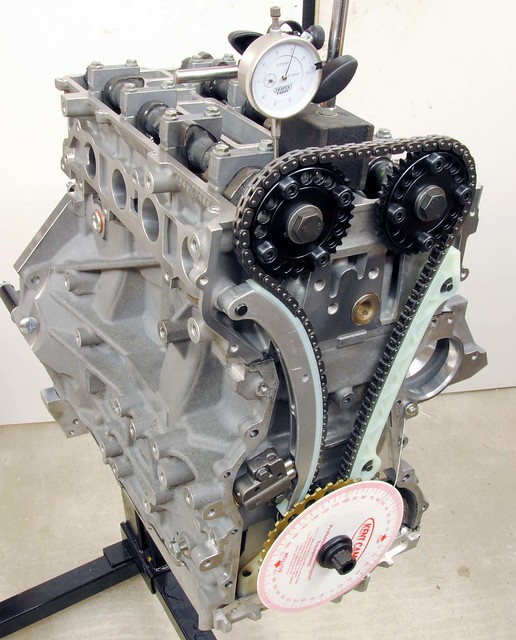
The cams I'm using are Ultimate Performance's UL39 & UL40. The choice was made purely on Simon's recommendation for the spec I wanted.
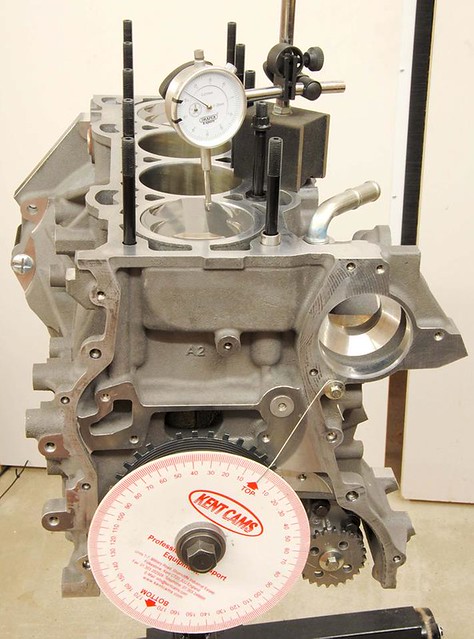
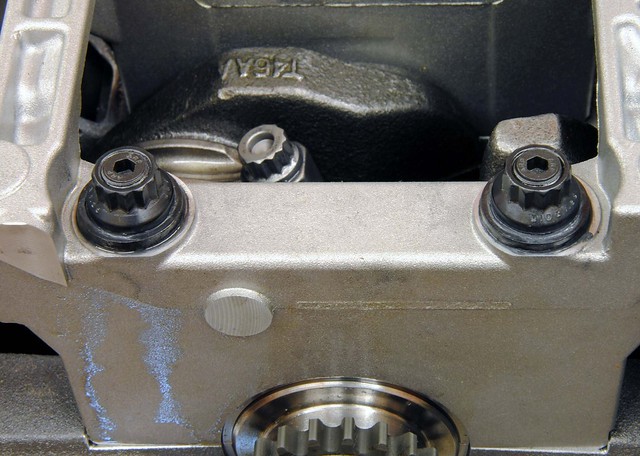
With the initial timing set using the slots on the cams at TDC (Simon felt this was the best way to start), I checked the valve timing with a dial gauge. If you have ever done this you'll understand how difficult it is to get your head round the readings. But after checking a few text books, it began to make sense - they are around 60 80 80 50, with duration of 320 (inlet) and 310 (exhaust). The textbooks suggest this will give a useful RPM range of 3500 - 9000 with peak power somewhere around 8500. Somewhat wilder than I expected but we'll see how it goes .
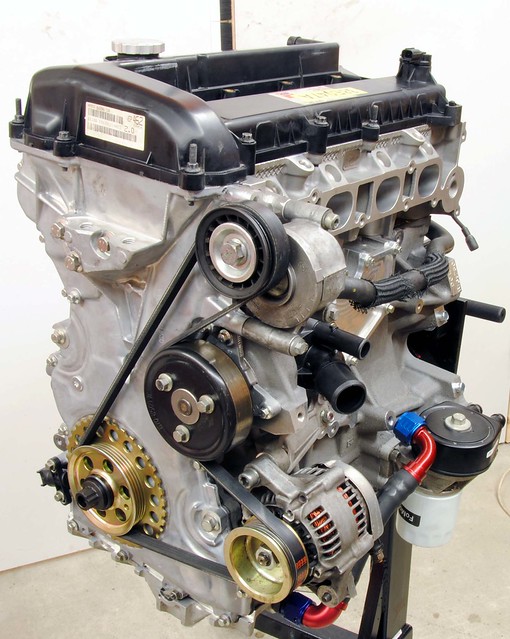
With the engine sealed up I began fitting the auxiliaries. I had thought about fitting the alternator on the exhaust side but, as the smaller pulley worked fine with the original set-up, I decided to keep it that way. Next will be the roller barrels overhaul and fitting.
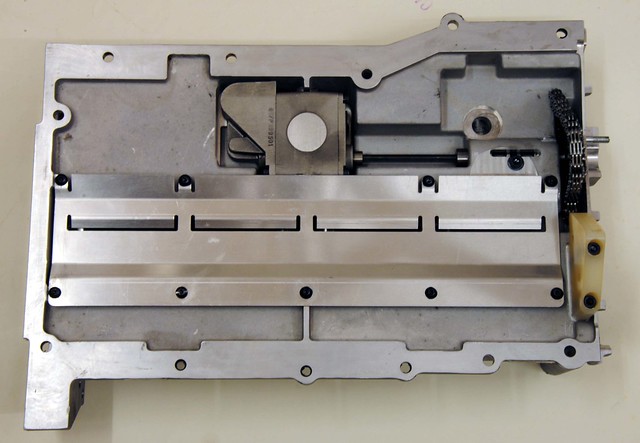
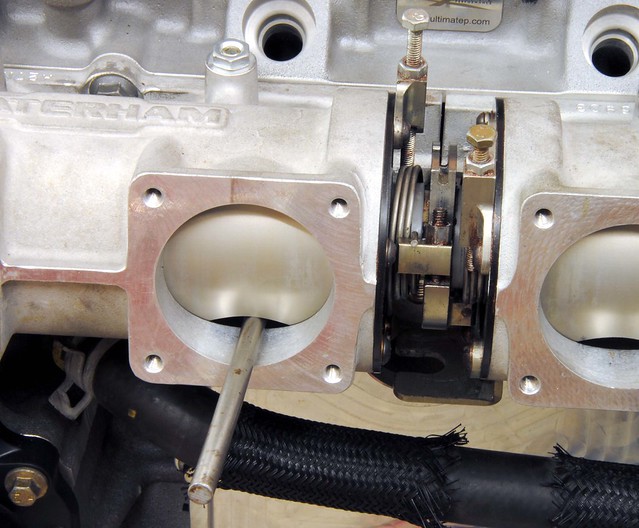
As planned the barrels were overhauled and fitted today. I was surprised at how poor the condition was that they were in, mainly with wear and corrosion. They've done about 5K miles - and they will certainly be past their best by 10K.
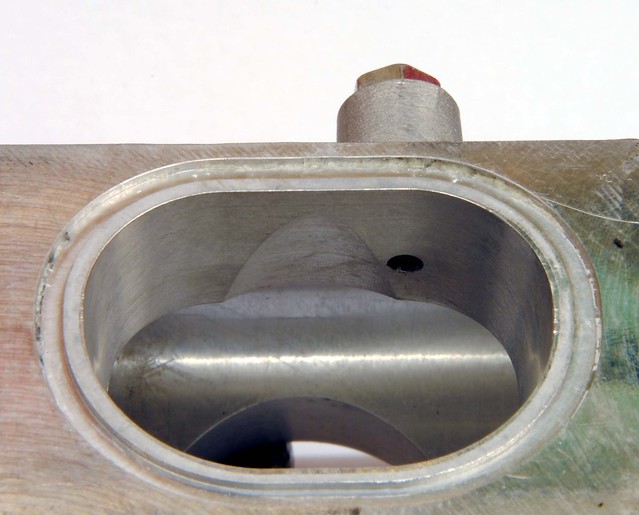
They are, however, a very simple device once the end plates are removed and it was not long before they were done and fitted to the engine. But I did make the classic mistake of not removing the TPS first, so now it's scrap .
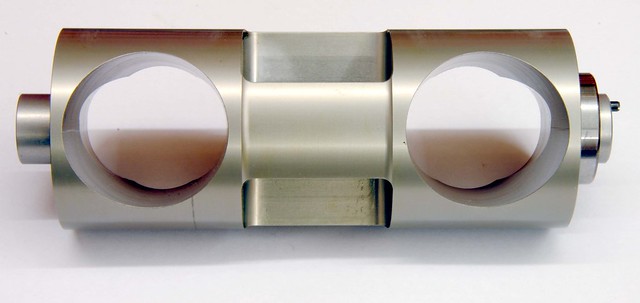
Setting them up is not difficult. Using a 6mm rod to hold them open, the end stops are adjusted in turn to take up the slack. It is worth saying that the 6mm gap at the front is not the 'throttle' opening - that all happens at the back (engine) side. This procedure effectively set the barrel to 'just' closed. There is also a bleed hole which will be adjusted to get idle flow correct when I'm up and running.
Well, the engine is now finished . the final touch was to fit the rather nice flywheel and twin plate Super Clutch from SB Developments.
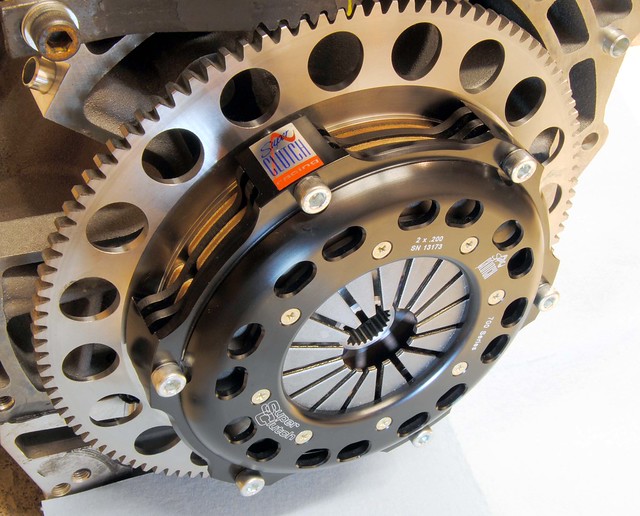
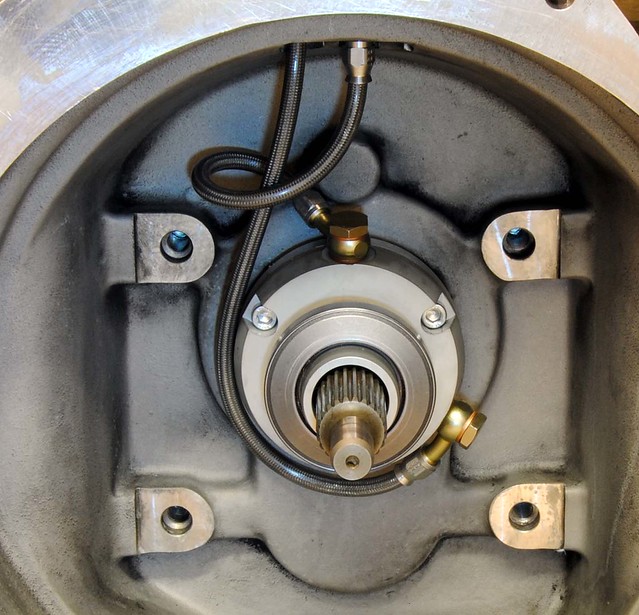
The twin plate super clutch is thicker and needs a rounded clutch release bearing. This was supplied with a new release mechanism by SB developments as part of the clutch kit. It also has a spacer to provide the correct position. The hardest part was making up the hoses.
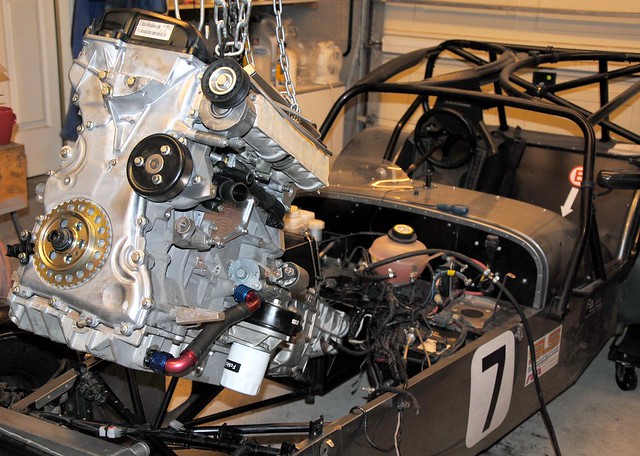
The engine went in today - a fairly standard job with no real issues but the clutch does feel rather 'firm'. I'm sure I'll get used to it. All the fluids are in but the TPS didn't arrive, so couldn't start it up - maybe Monday
The big moment came! With my son supervising me (and keeping me right) the start button was pushed. I was surprised that it fired instantly. Although I stopped the video by accident, I continued to run it for about 20 minutes. I will not run again until it is on the rolling road next week - so that it's run-in under load.
http://www.youtube.com/watch?v=hrksbKEXfFI