Time for an update

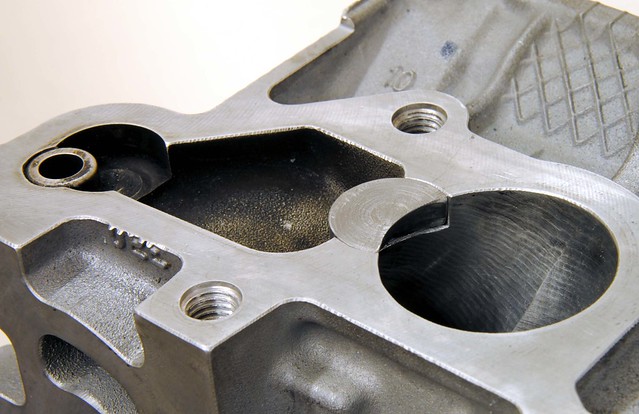
Fitting the engine and gearbox back in the car is pretty routine these days so nothing to report there. It started OK and was given a few minutes at 2000 rpm to settle in the new camshaft then a quick balance of the throttle bodies and that was that until the rolling road session to run it in. With the engine done, it was back to the paddle shift.
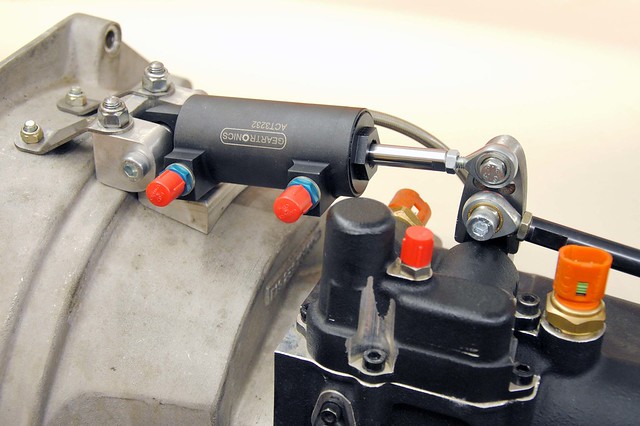
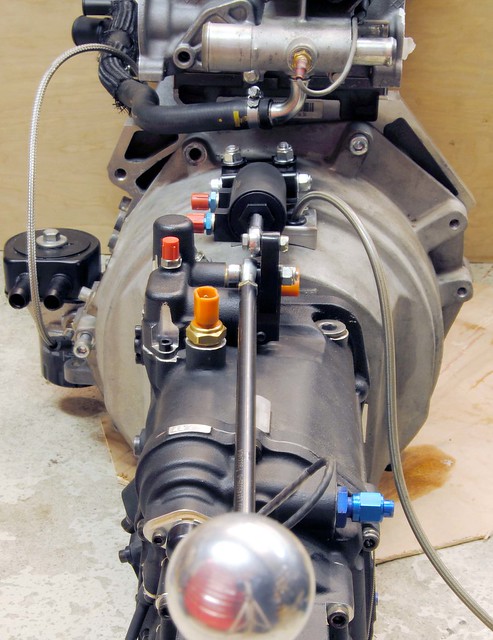
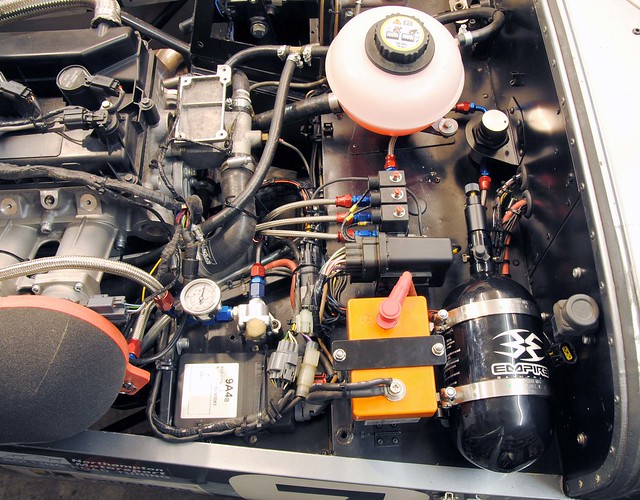
My original idea was to fit the paddle-shift kit on the passenger floor but that was soon dismissed as the length of the hoses posed a problem. So, after a brainstorming session, the plan was to replace the battery with a smaller lithium one and that gave the require space for the air bottle. It all worked out well in the end with the hoses nice and short - a significant performance factor for the actuators. The added bonus was the battery saved around 8 KG, so a net gain of around 2 KG overall.
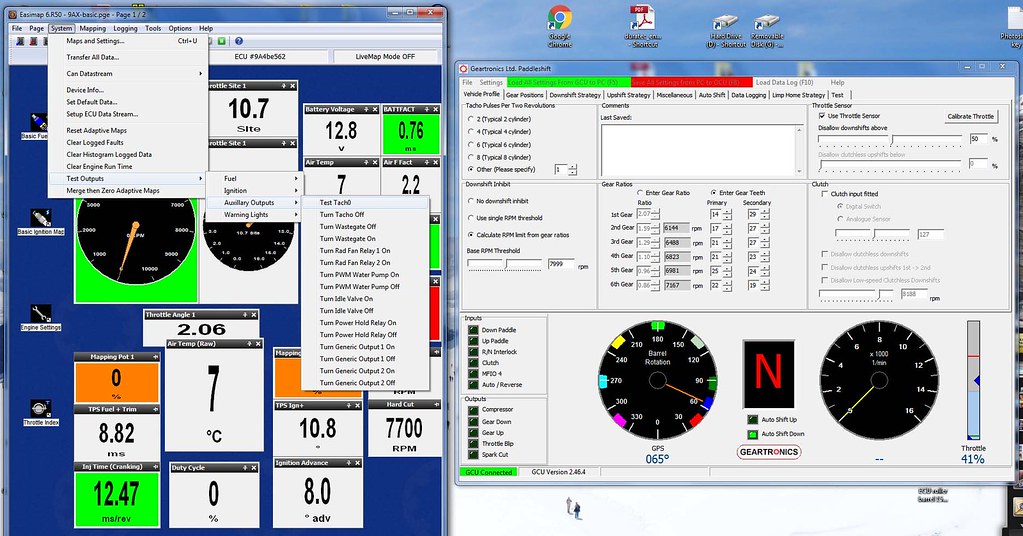
The custom loom made by Geartronics was a delight to install and fitted perfectly, the only significant job was opening up the ECU plug to add some wires. After powering it up, the main task was to calibrate barrel position. This was straightforward as I had already set the one half of the dual hall effect sensor to work with the 'easy shift' and gear display (a long trial and error process, but got there in the end). Next was to calibrate the throttle position, again straight forward, and then check the Tacho signal. That's were things started to go wrong. I just couldn't get it to work.
Discussing the matter with Geartronics resulted in some component level diagnostics and I was all set to send the GCU back when we realised that the ECU signal was just not of a high enough frequency for the GCU. Caterham use a very low frequency of one pulse per cycle (2 revolutions). But this turned out to be of no real consequence as the RPM (and frequency) in the gear changing band was high enough.
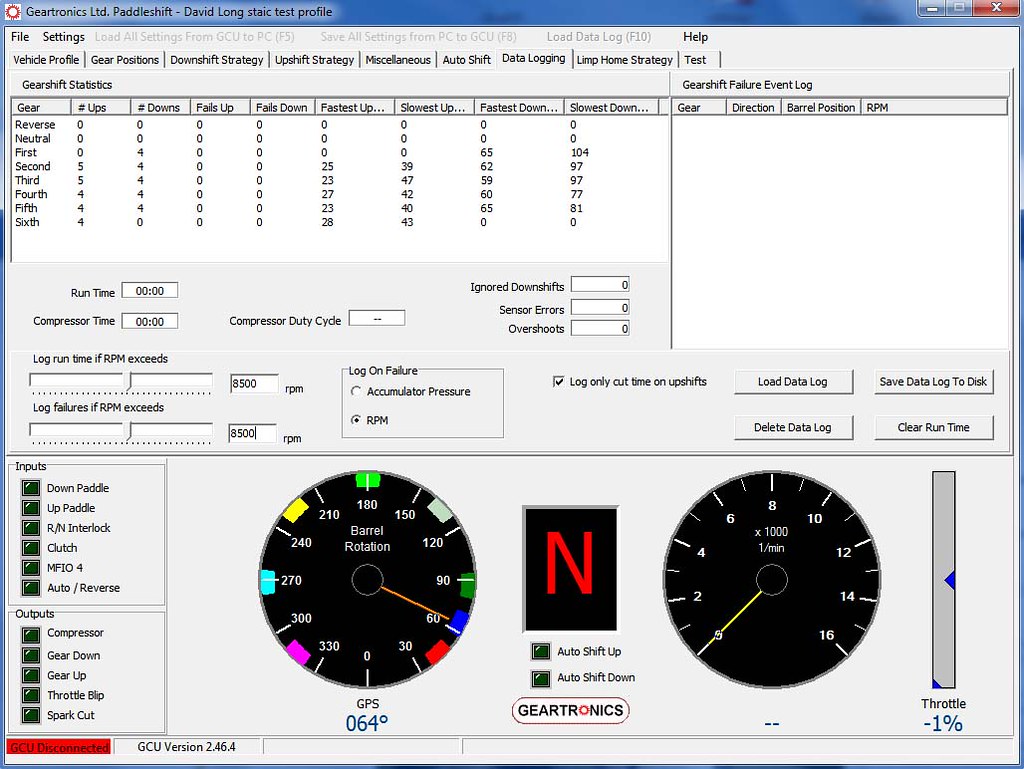
The MBE Easimap software and the Geartronic softare in the set up and testing phase . . .
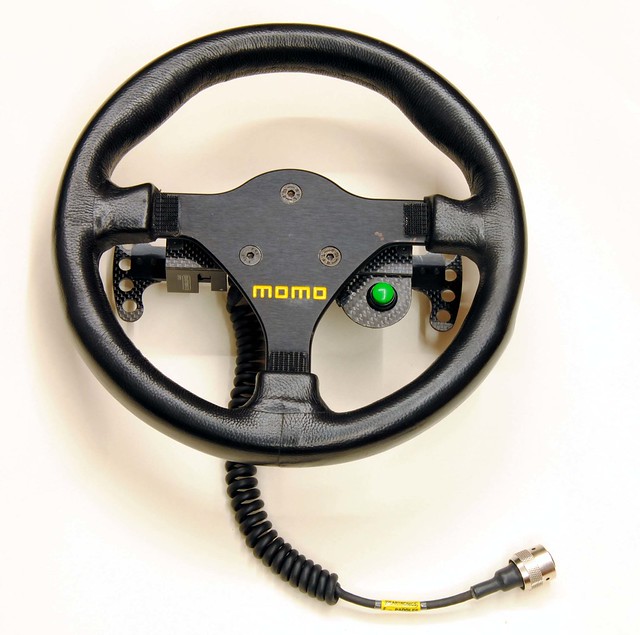
The steering wheel was straightforward too, and just needed to be bolted together. The neutral button was placed out of the way of my normal hand position, on a slightly recessed a carbon tab. I may change this after some use, but didn't want to drill hole in the spokes without some use on track first.
It was then just down to turning on the air bottle and testing it.
Watch on YouTube
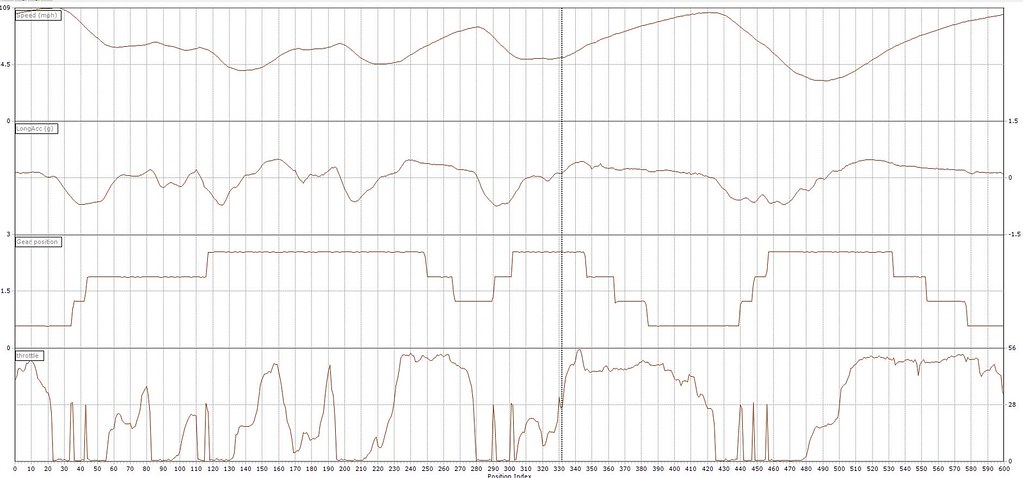
The test logged the time of each change, the target up-shift time being between 20-60 ms, mine came in around 20 ms which was a little too fast, so we reduced the the pressure to provide less stress to the mechanics and save some air usage too. The down-shift time includes the blipper and time for the engine to respond, so is much longer - typically 60-150 ms.
The test was then repeated with the engine running (no video I'm afraid) and it all worked as it should. No missed or failed shift since testing began, so happy so far. First track test will be SIDC later this month